Bag-making & sewing setup

It’s been a while since I’ve done a process post, so here goes.

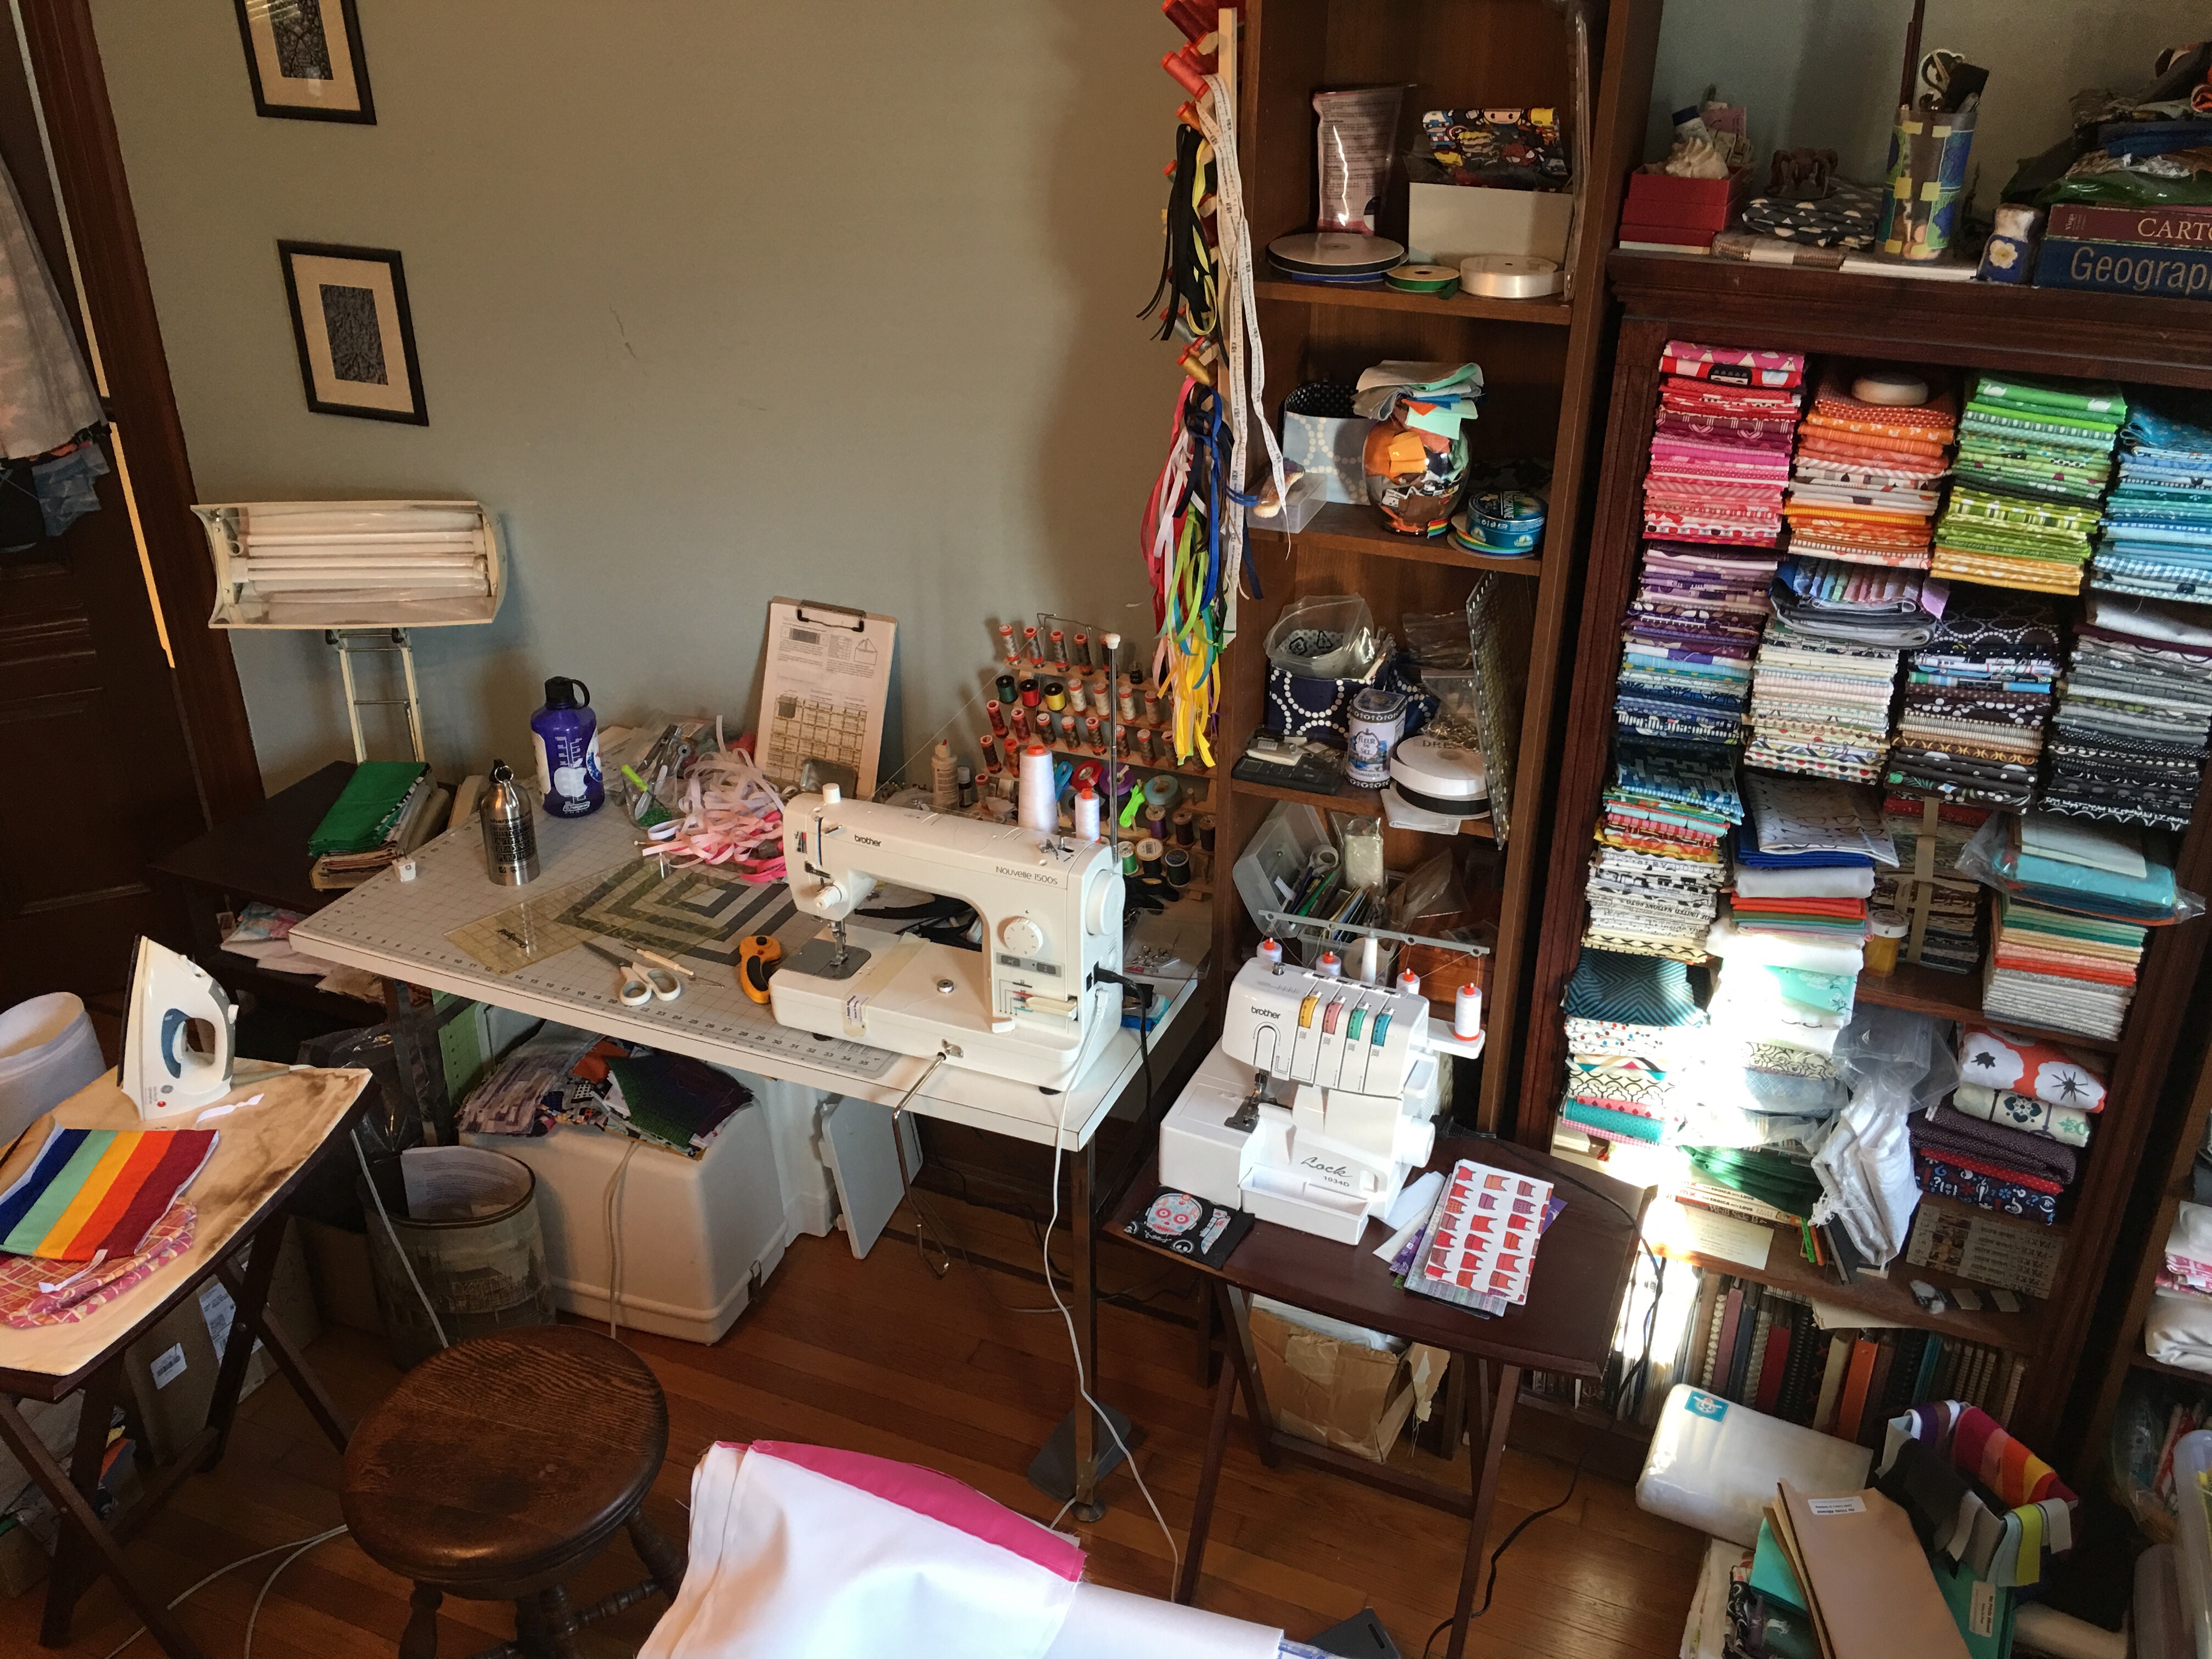
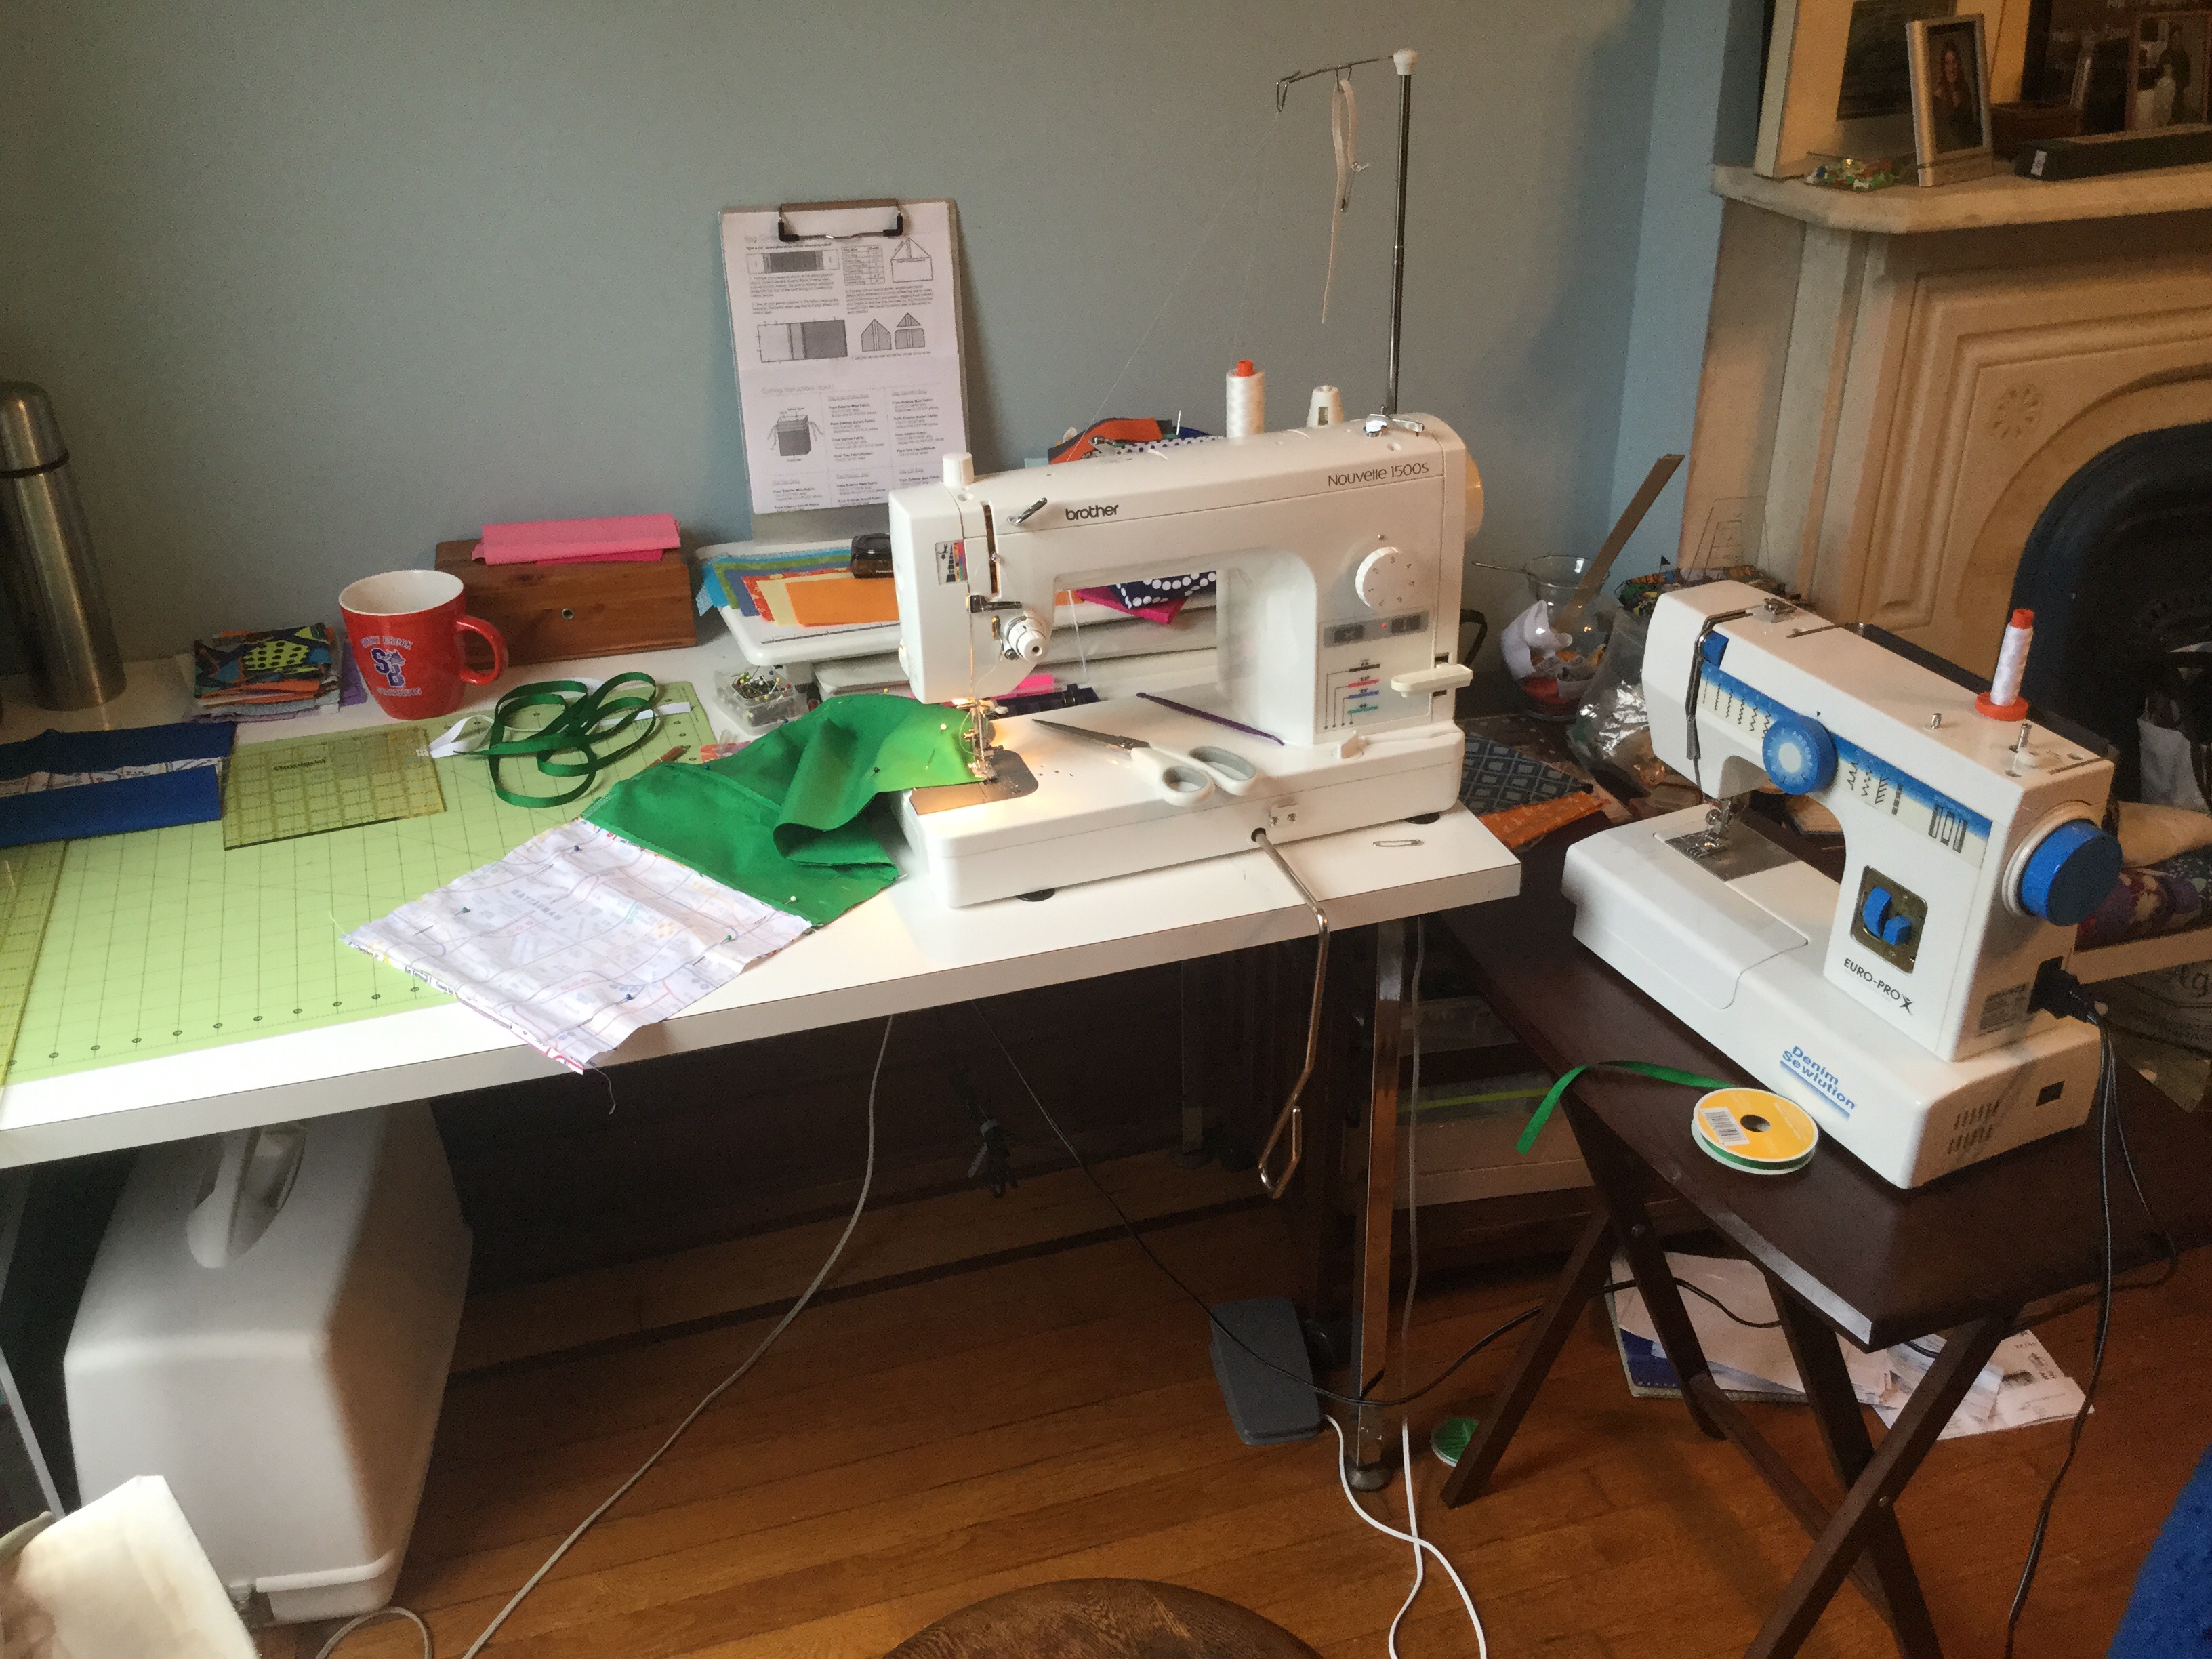
First of all, a look at my current (extremely cluttered) workspace.

(I intentionally did not tidy up before taking these photos because I’m not an influencer trying to sell you a perfect lie. I’m human.)

Sewing table with thread racks on the wall behind it

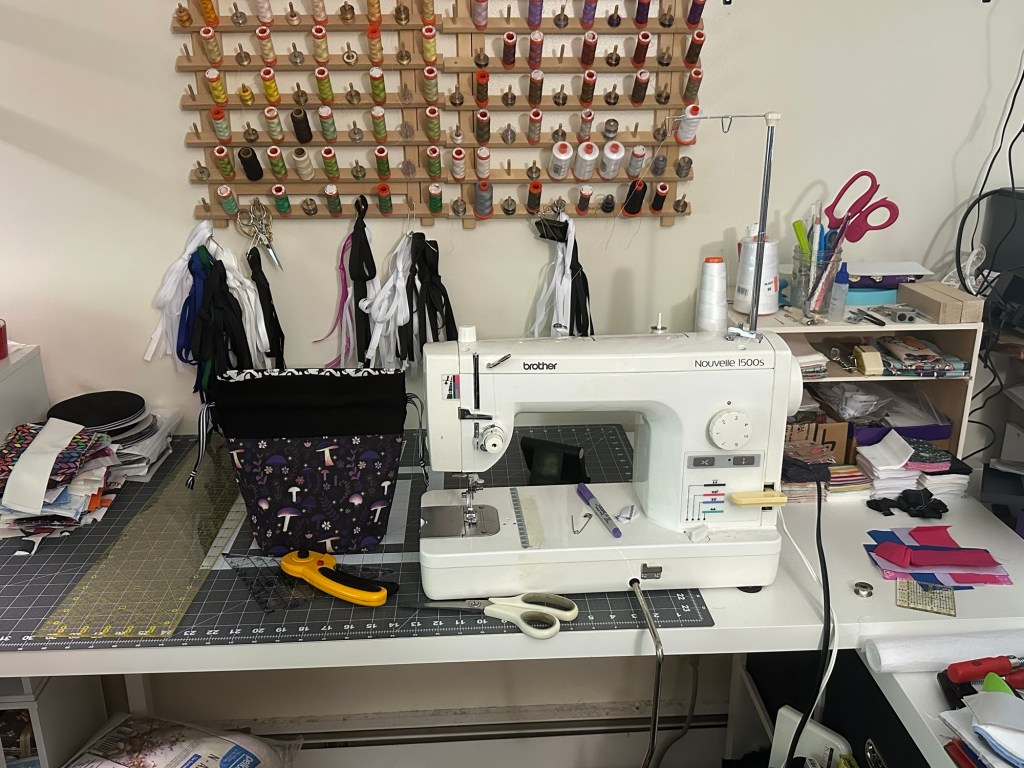
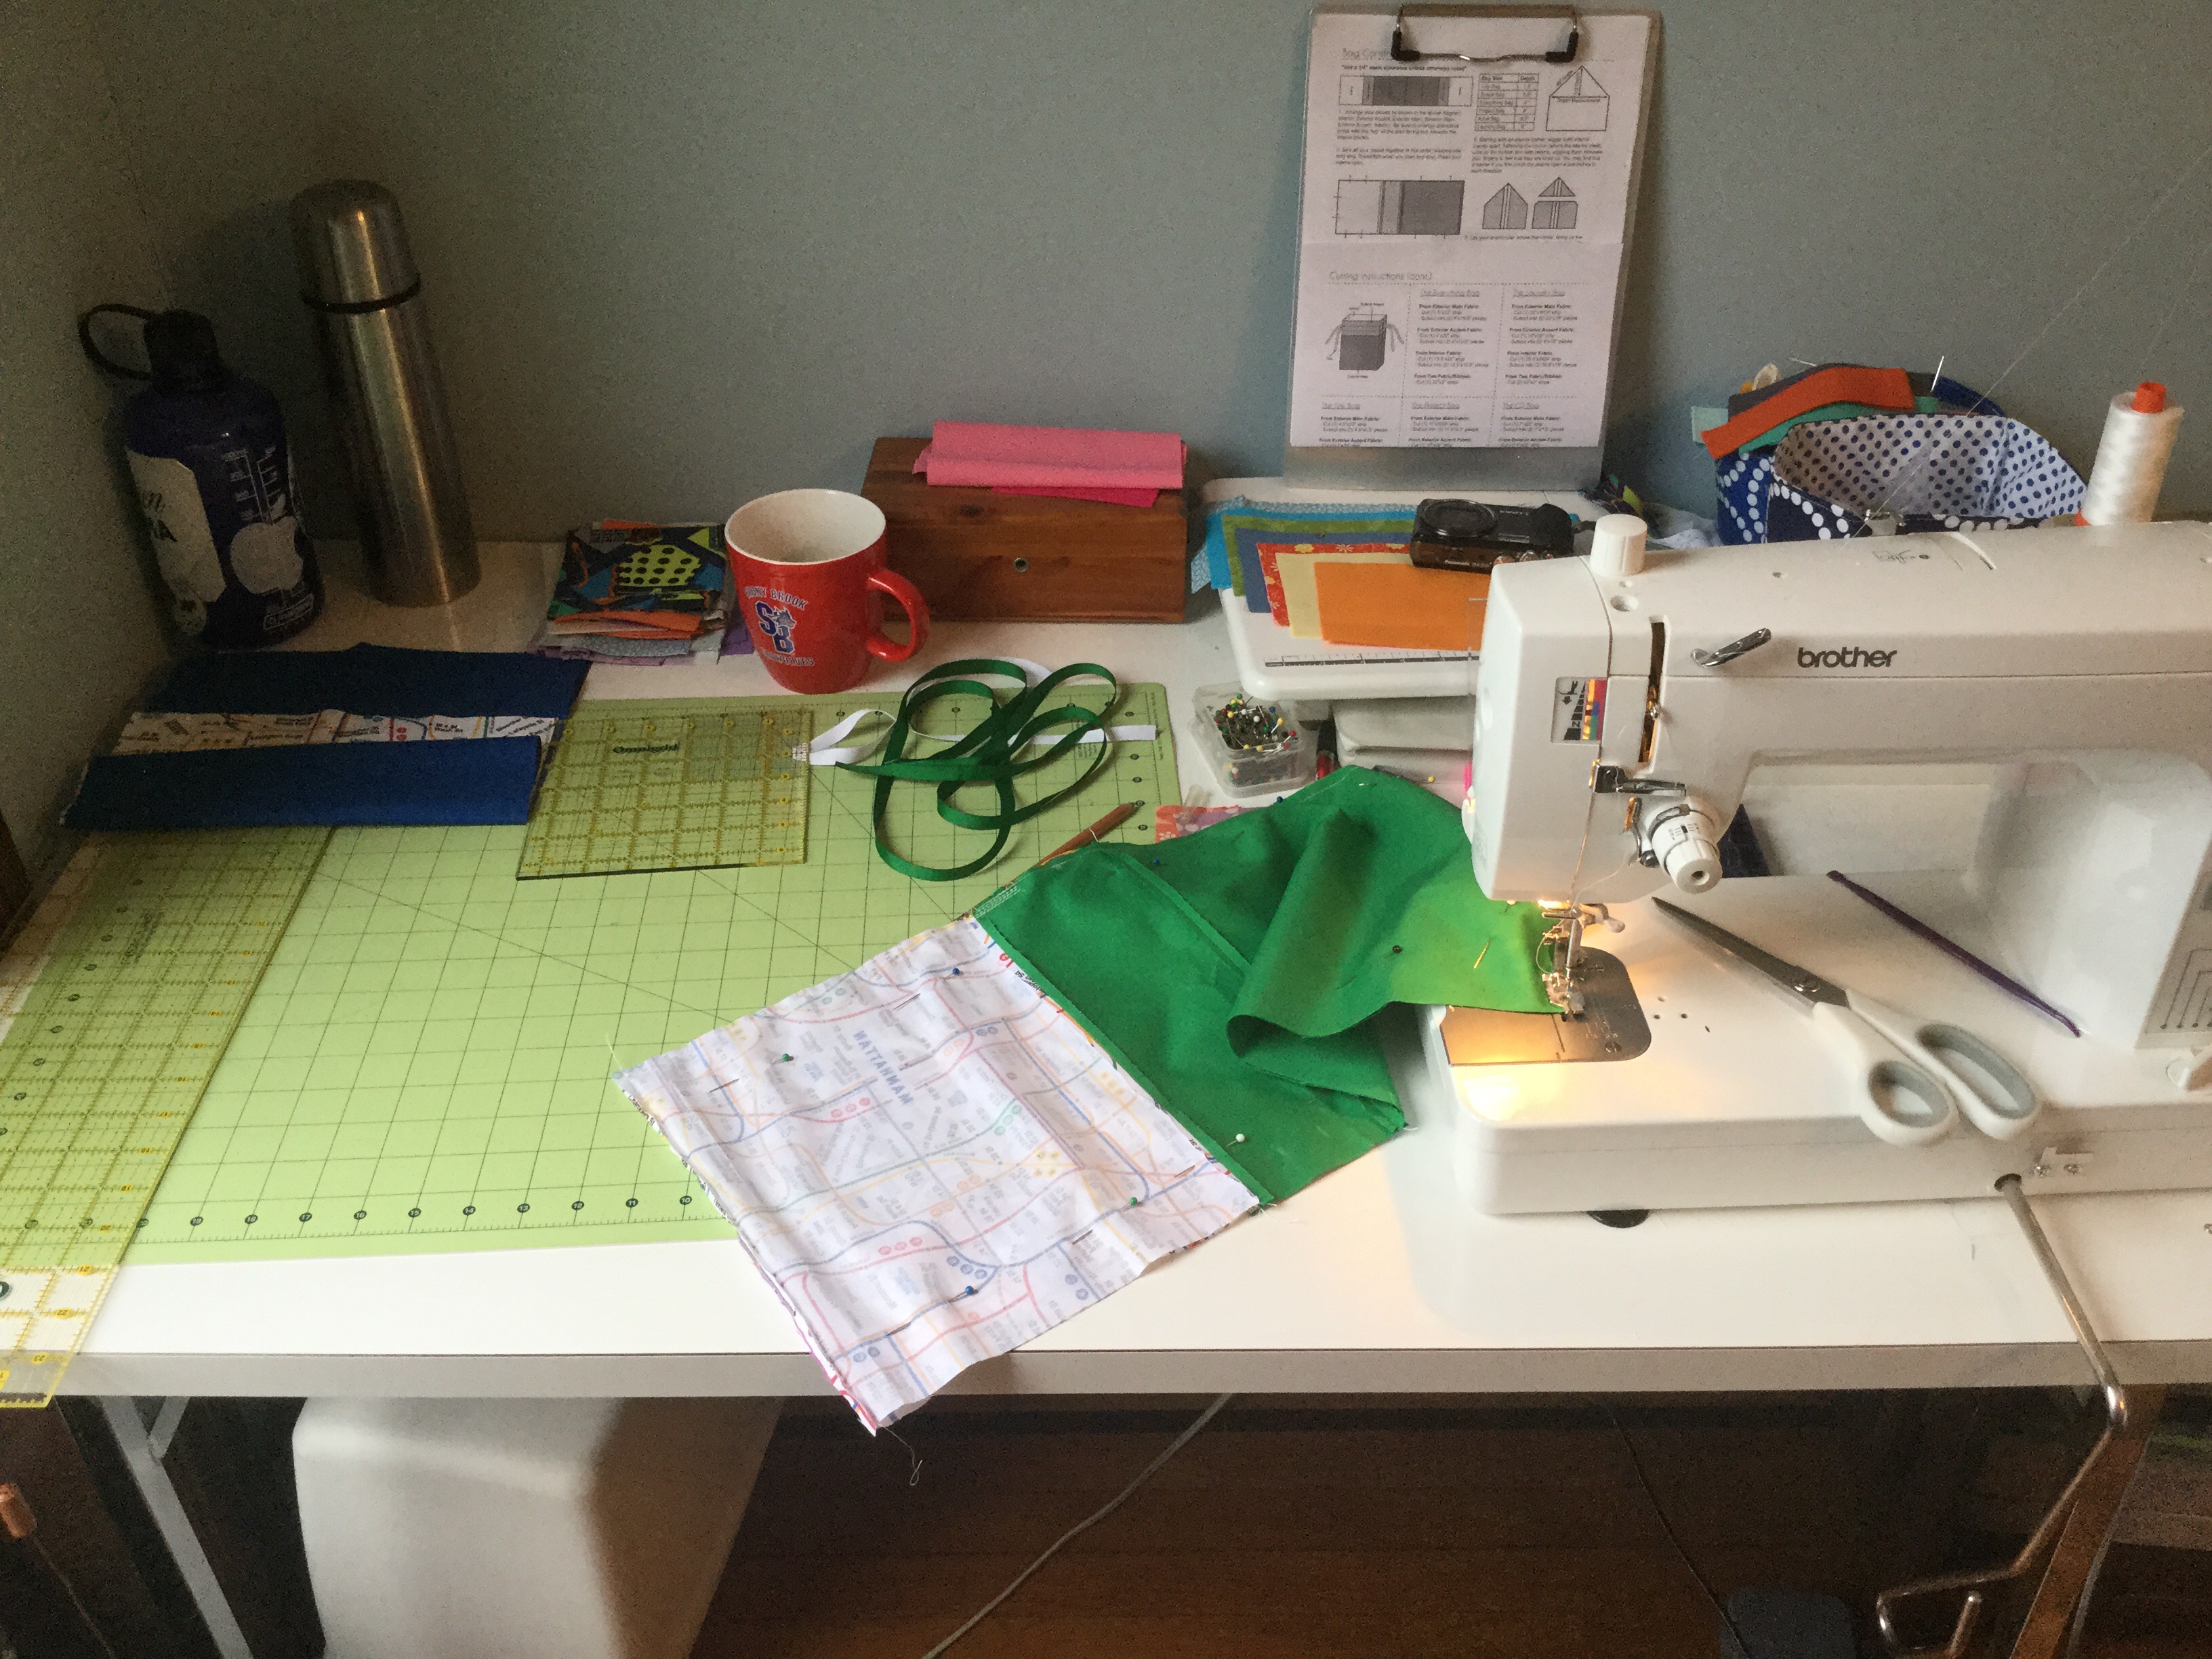
My thread all lives on the thread racks on the wall, out of direct sunlight. The main surface of the table is covered in a 36”x24” self-healing cutting mat, and my main shop sewing machine, a brother nouvelle 1500s lives here 90% of the time.

To the right of the photo is a 4×2 ikea kallax unit, which holds bins of fabric, and my Eversewn Sparrow usually lives on top of it, close at hand for when I need a zig-zag stitch or a buttonhole.

To the left of the main sewing area is a small table topped with layers of cotton and heat-proof batting sewn in a cotton casing to make a small ironing board, and under that table are clear plastic bins of more fabric. Are we starting to see a theme, here?

I sit in the middle on an early 20th-century round (hardwood) piano stool, which allows me to spin in place and raise or lower the seat depending on what I’m doing.

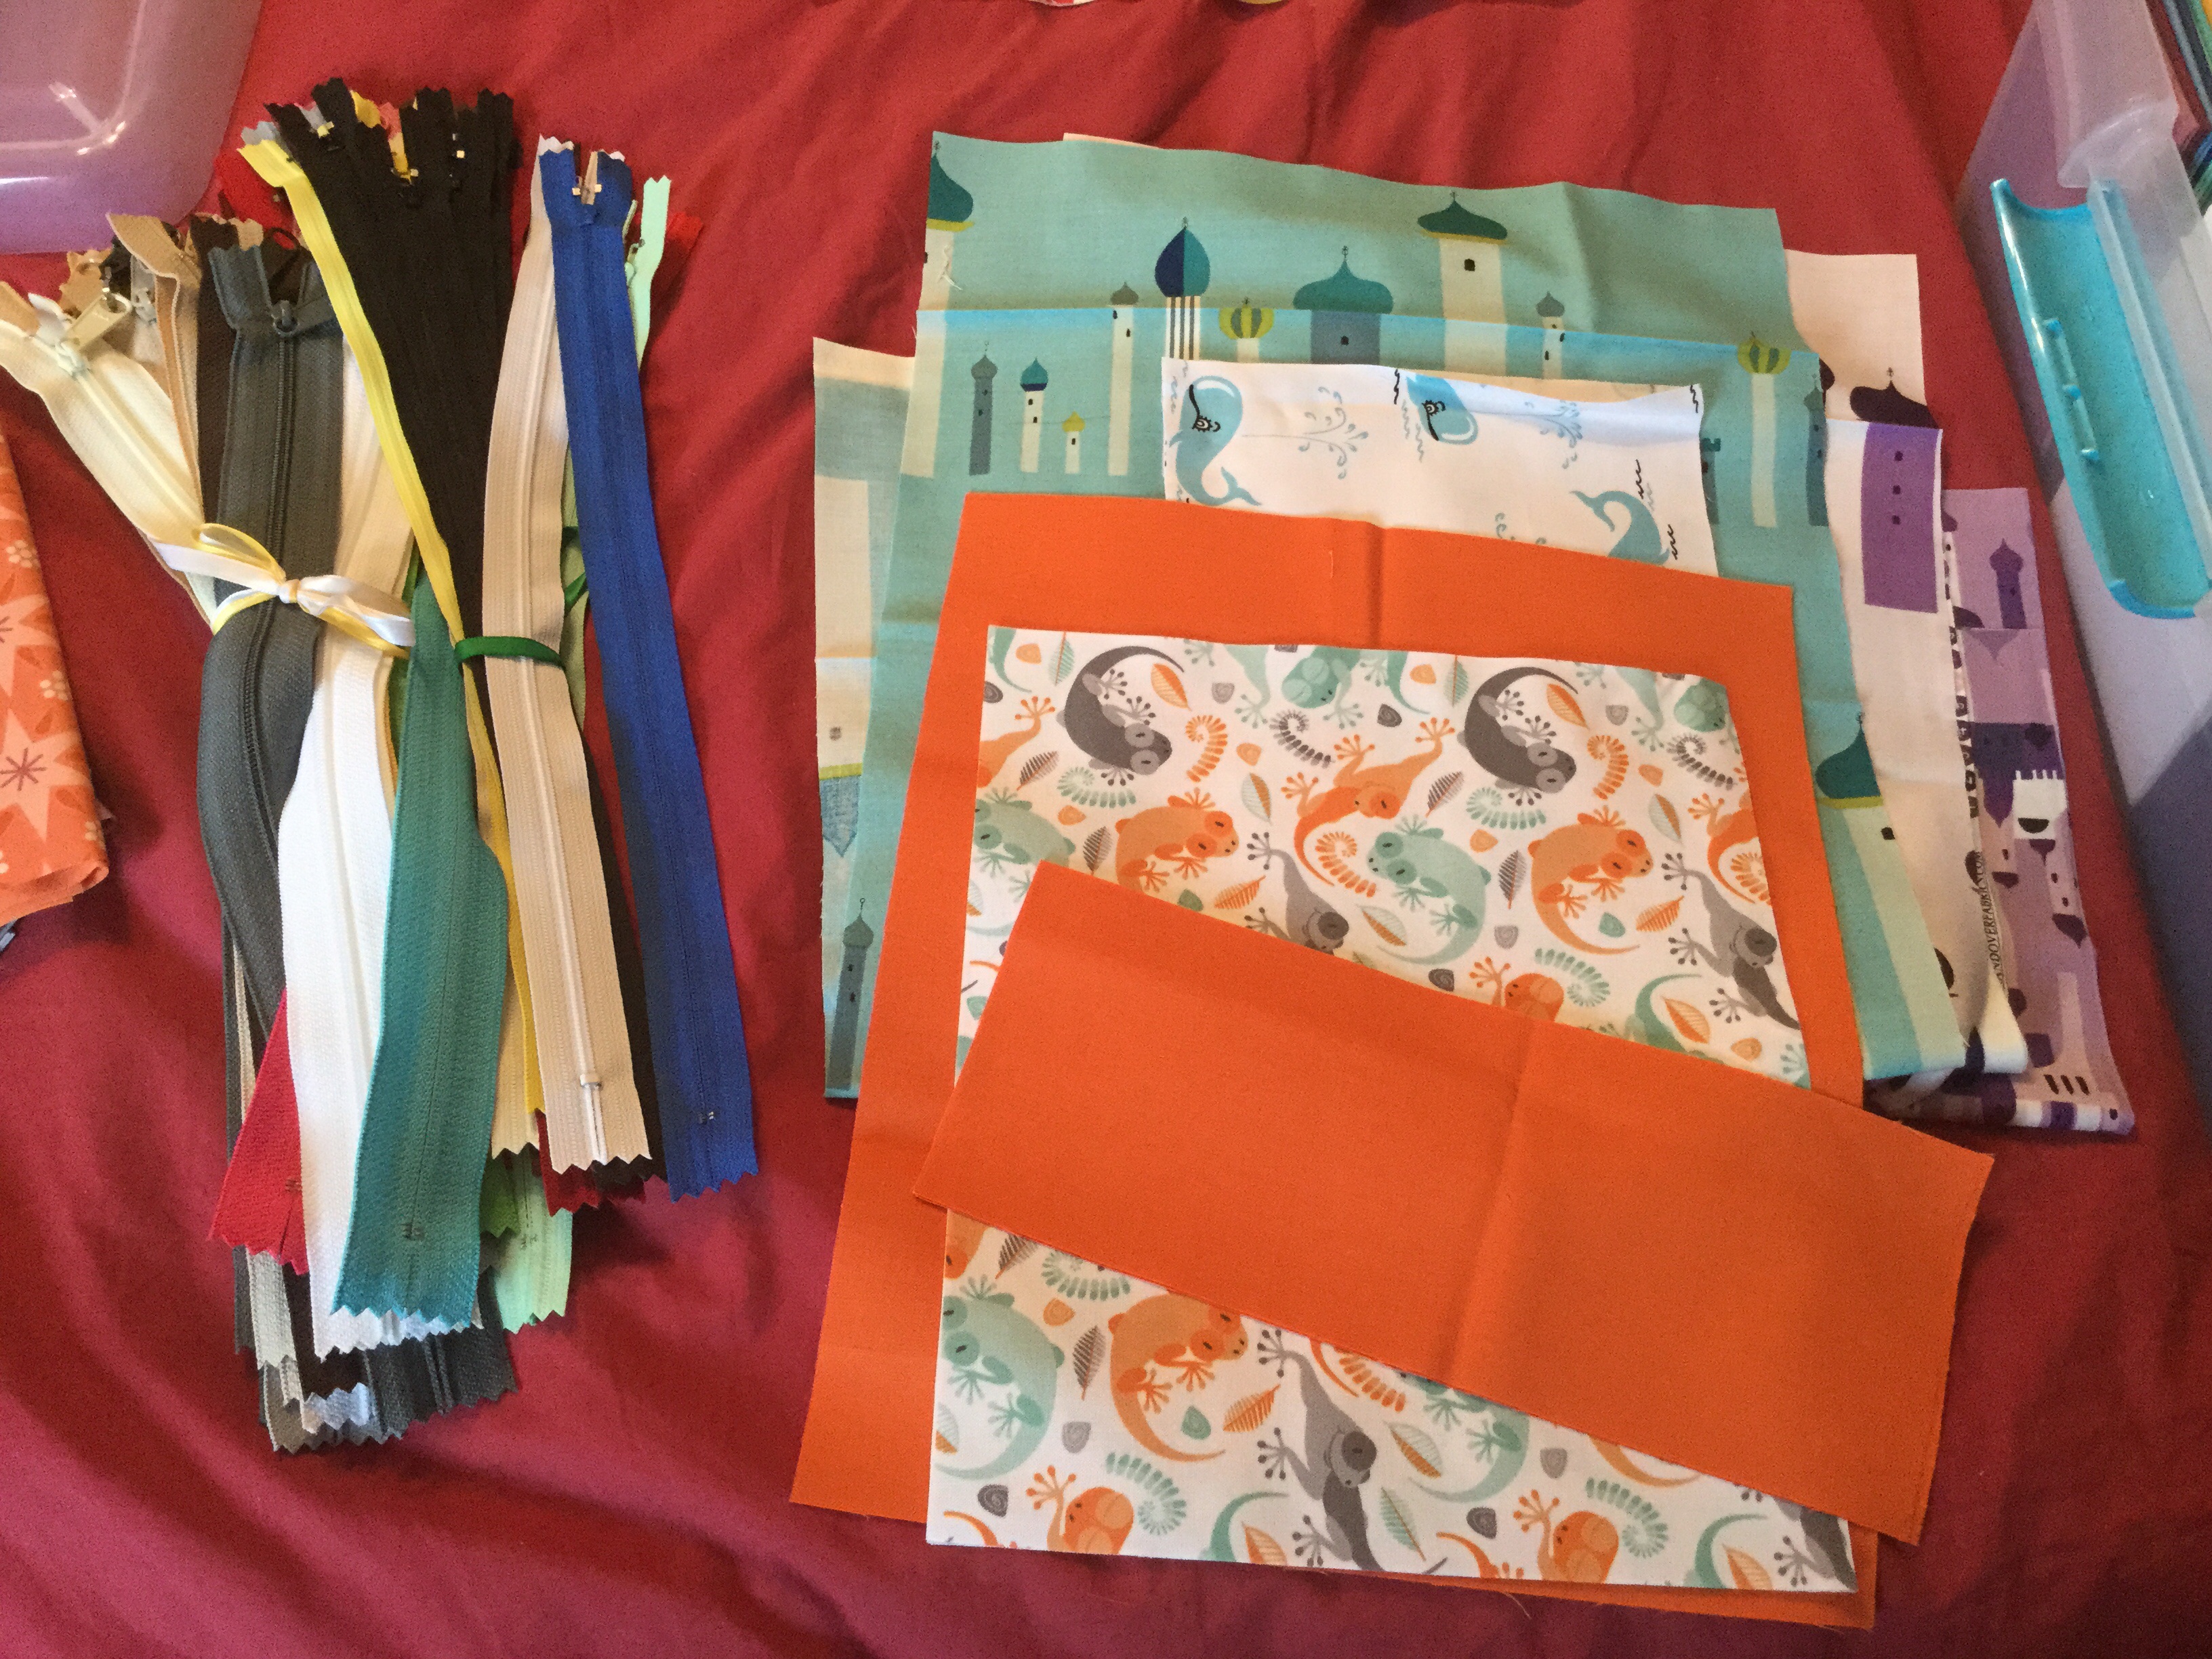
Today, let’s talk about sewing a drawstring project bag, something I do a lot of!

Lining fabric laid out flat to be cut with a quilting ruler and a rotary cutter
Bag outside and lining, cut and ready to be sewn

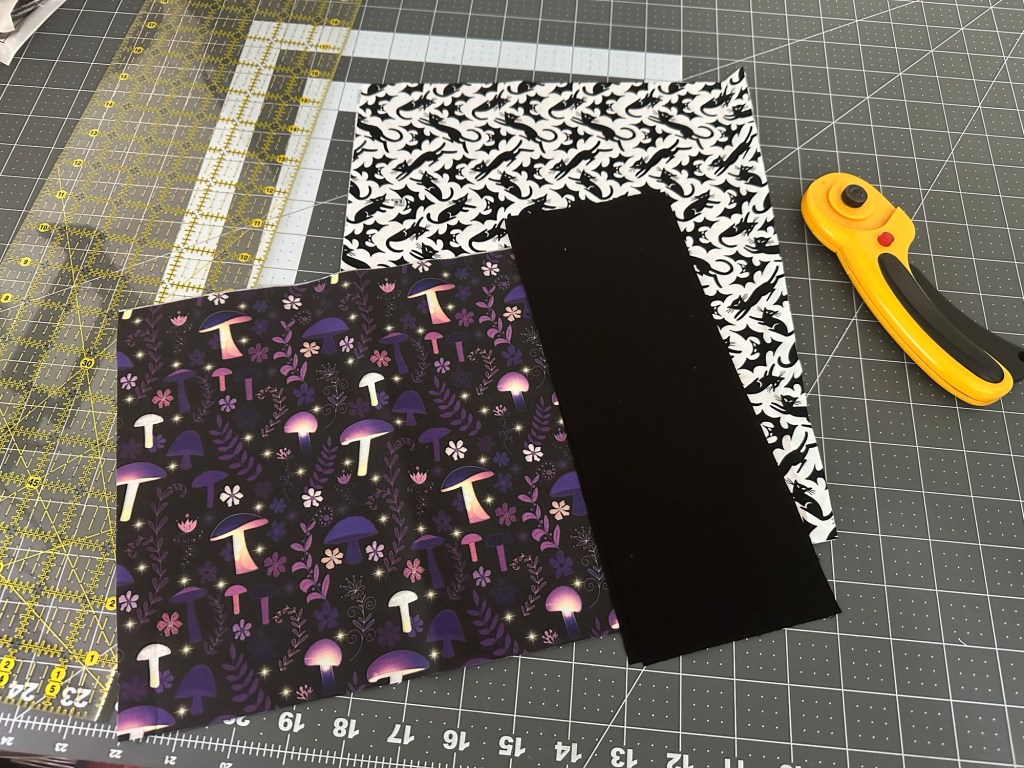
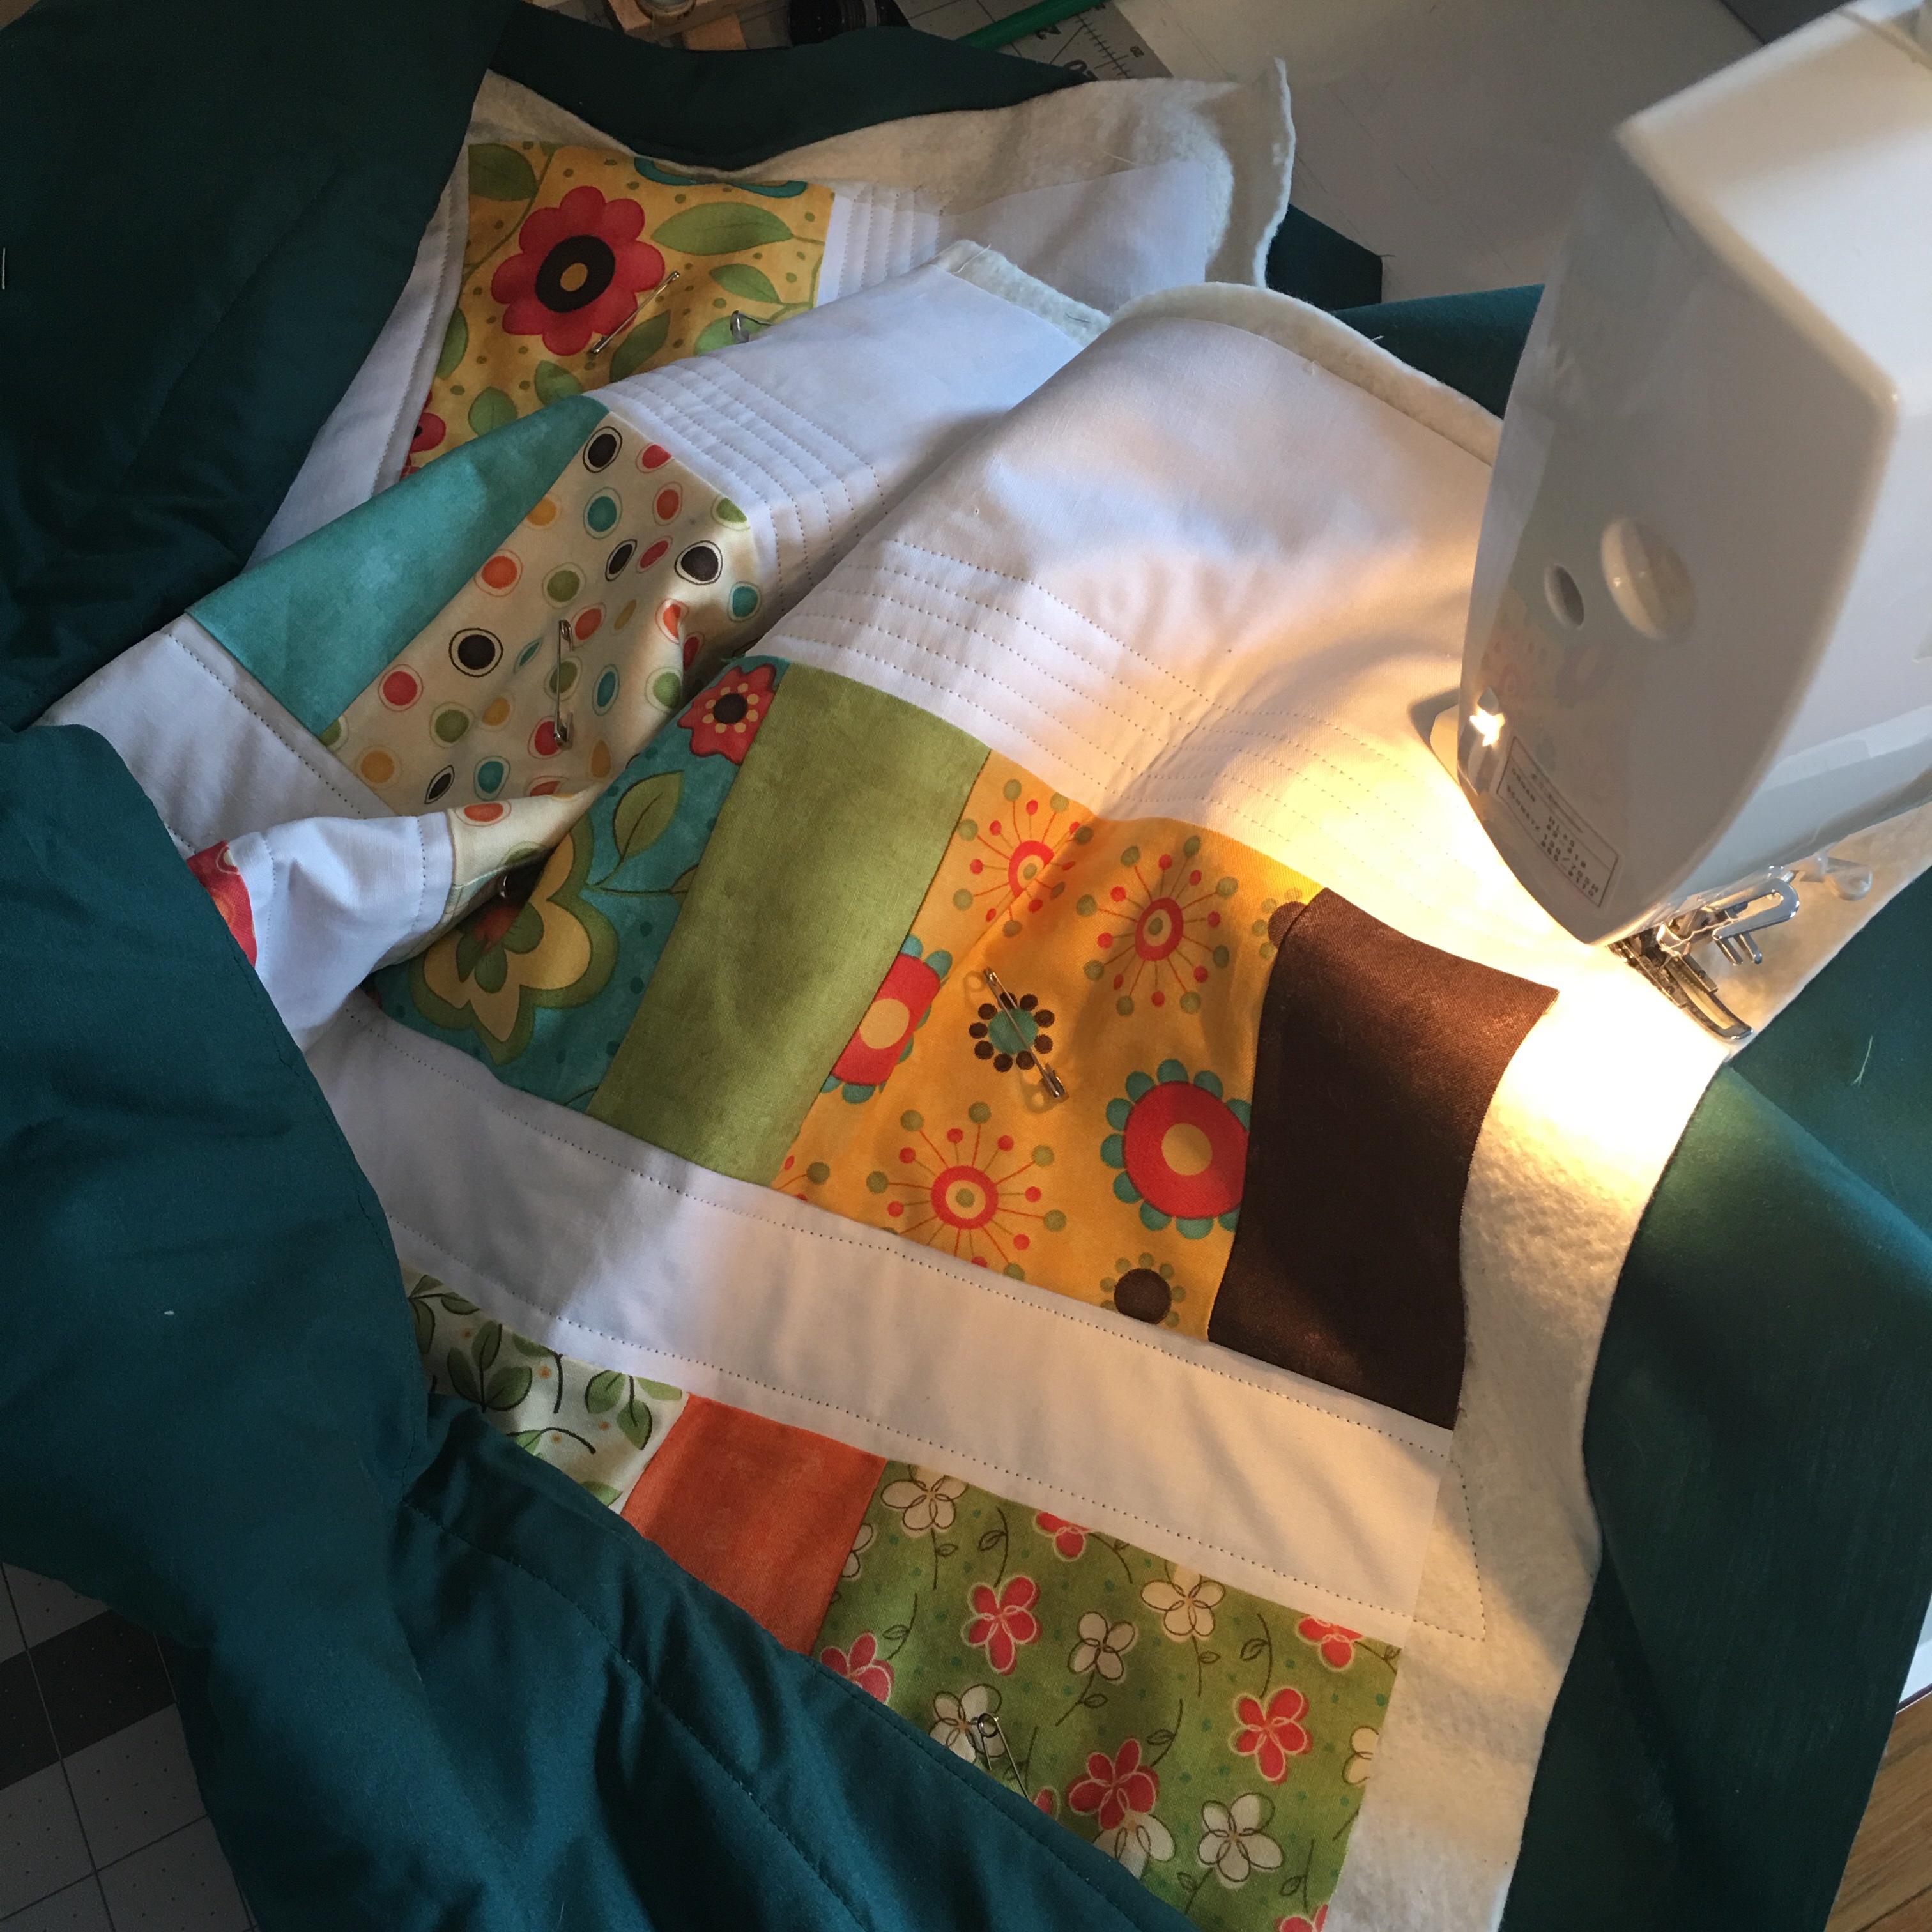
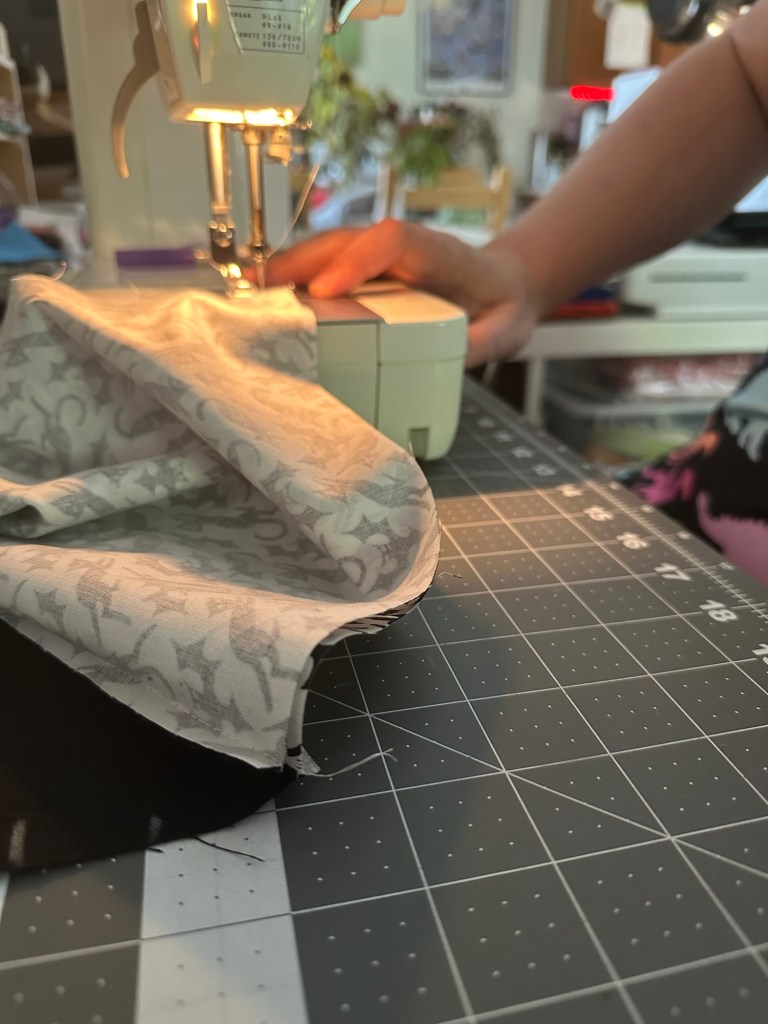
Once I have the fabric cut to my specifications, I start the sewing process. This goes a lot faster these days than it did when I was first starting, but that’s largely because I’ve figured out how to assembly line cut and piece: sewing a single bag from start to finish takes nearly as long as it ever has.

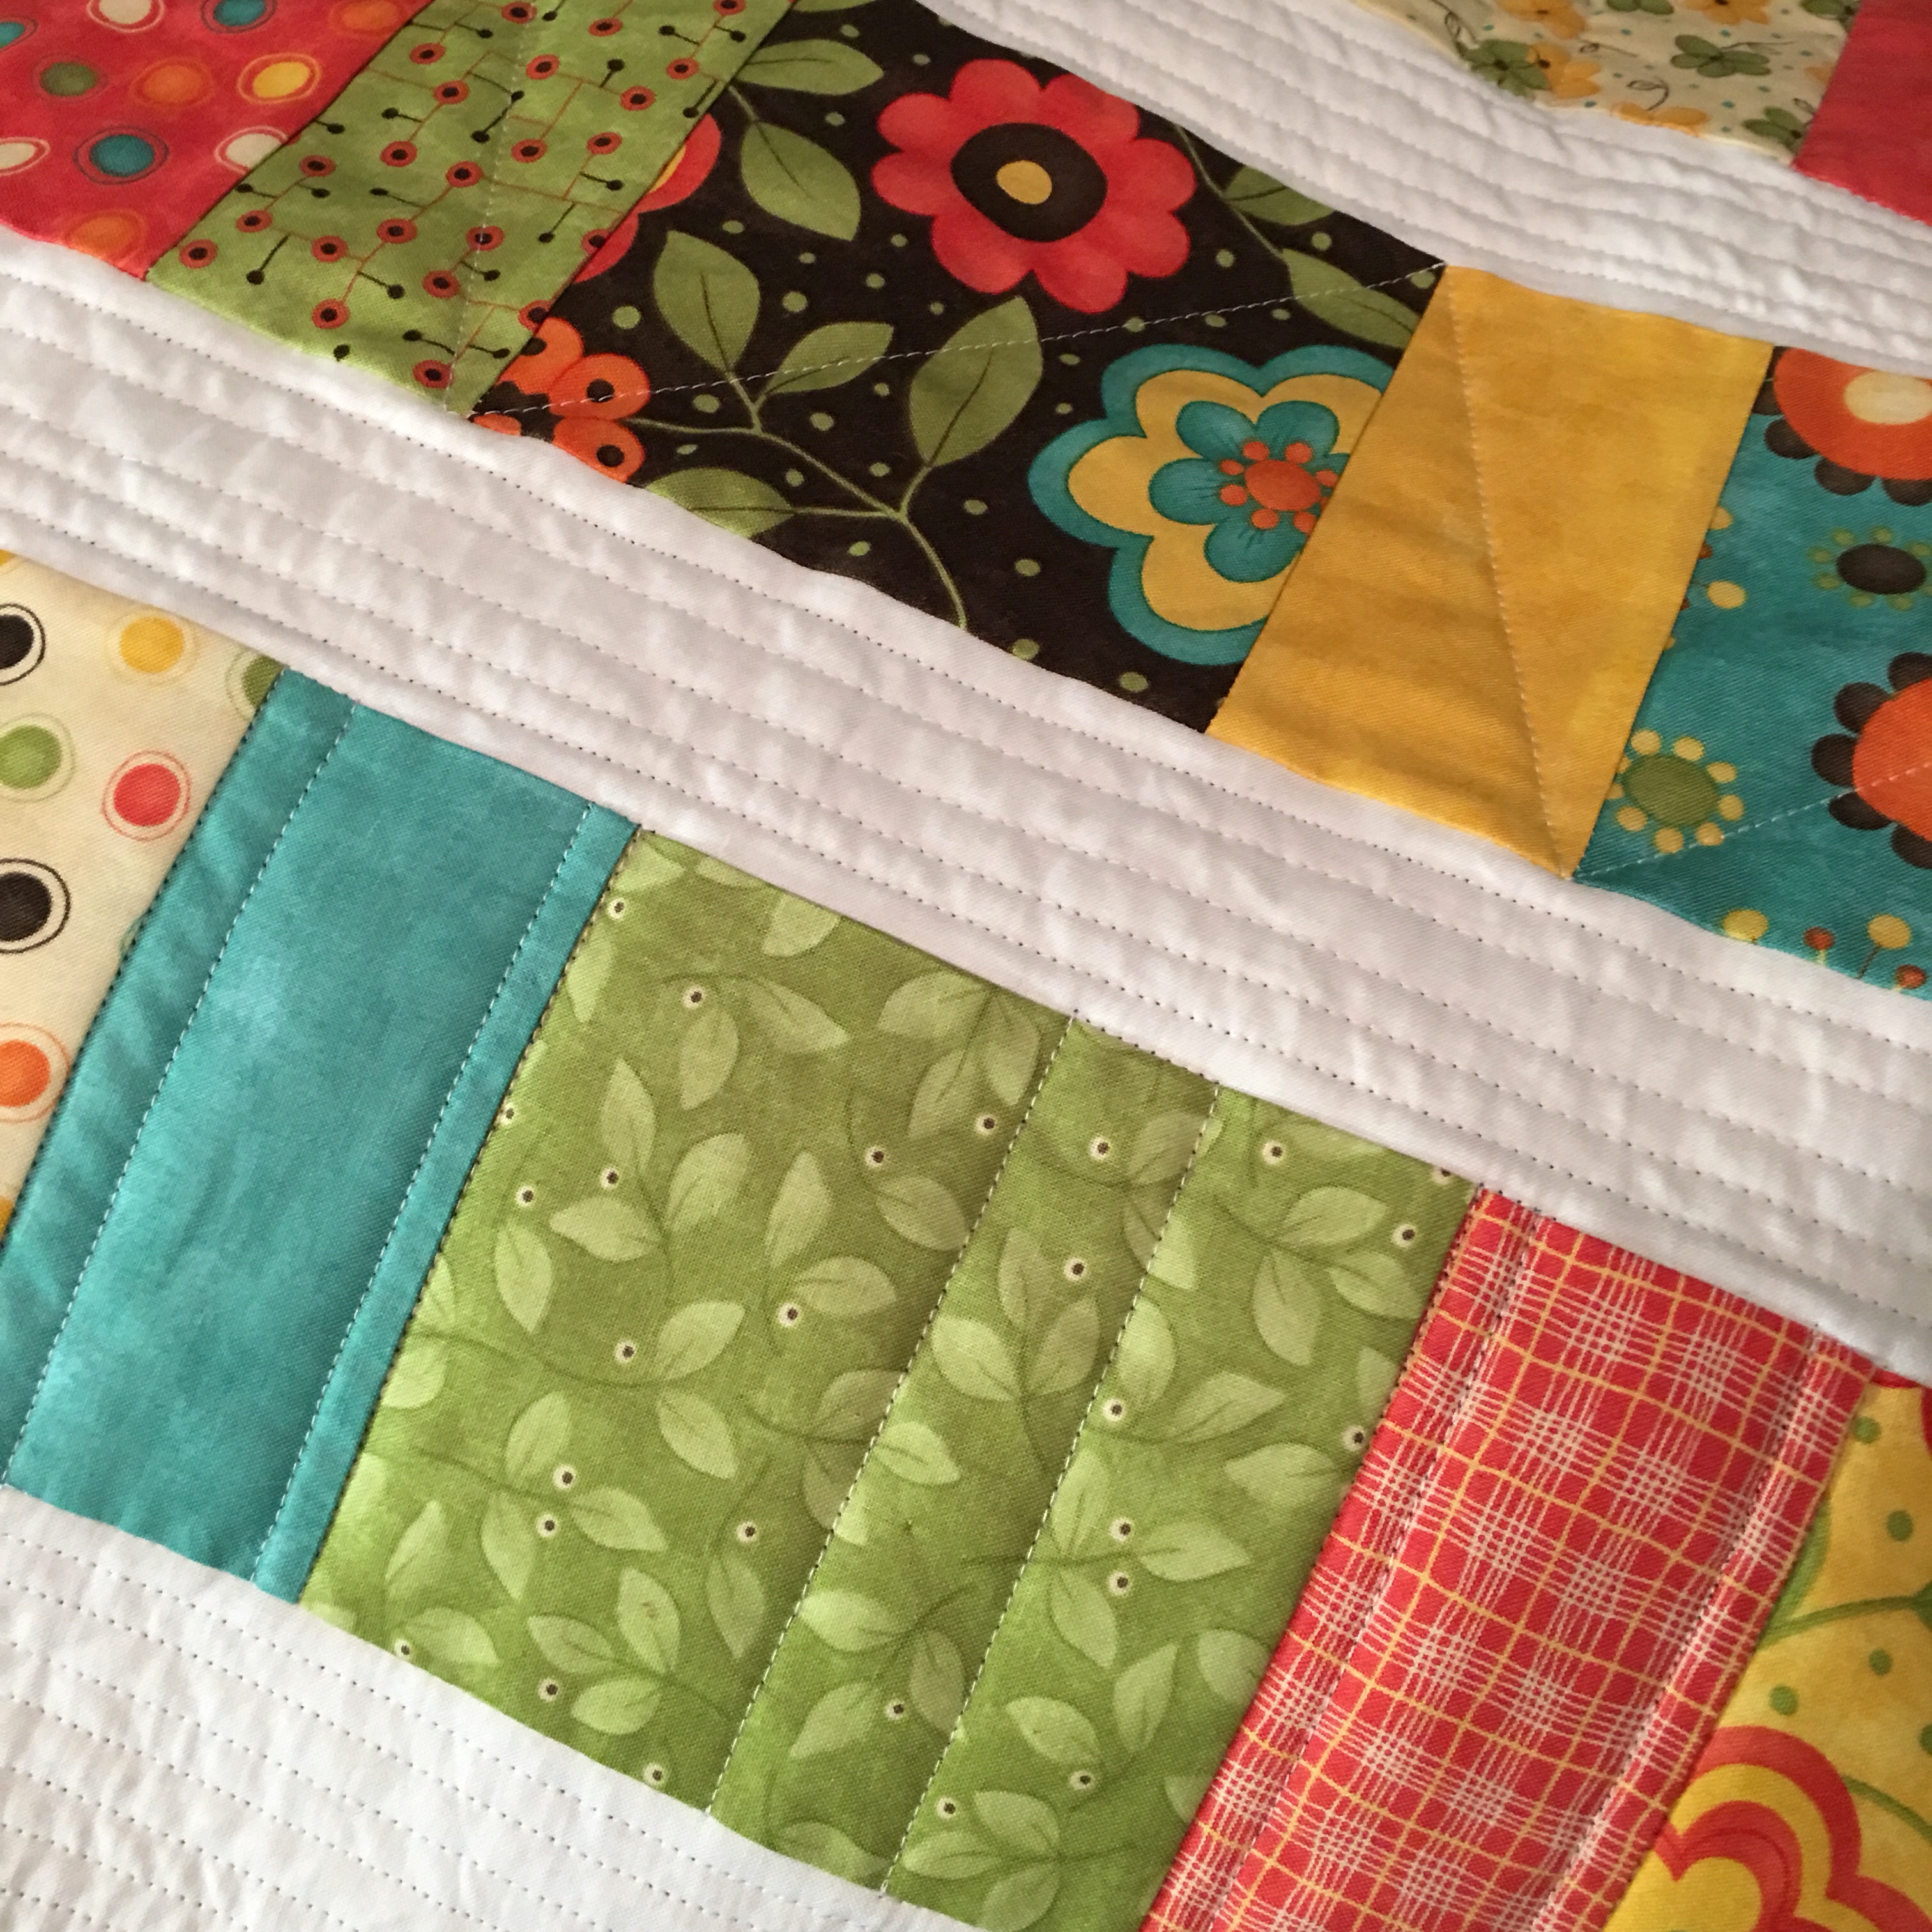
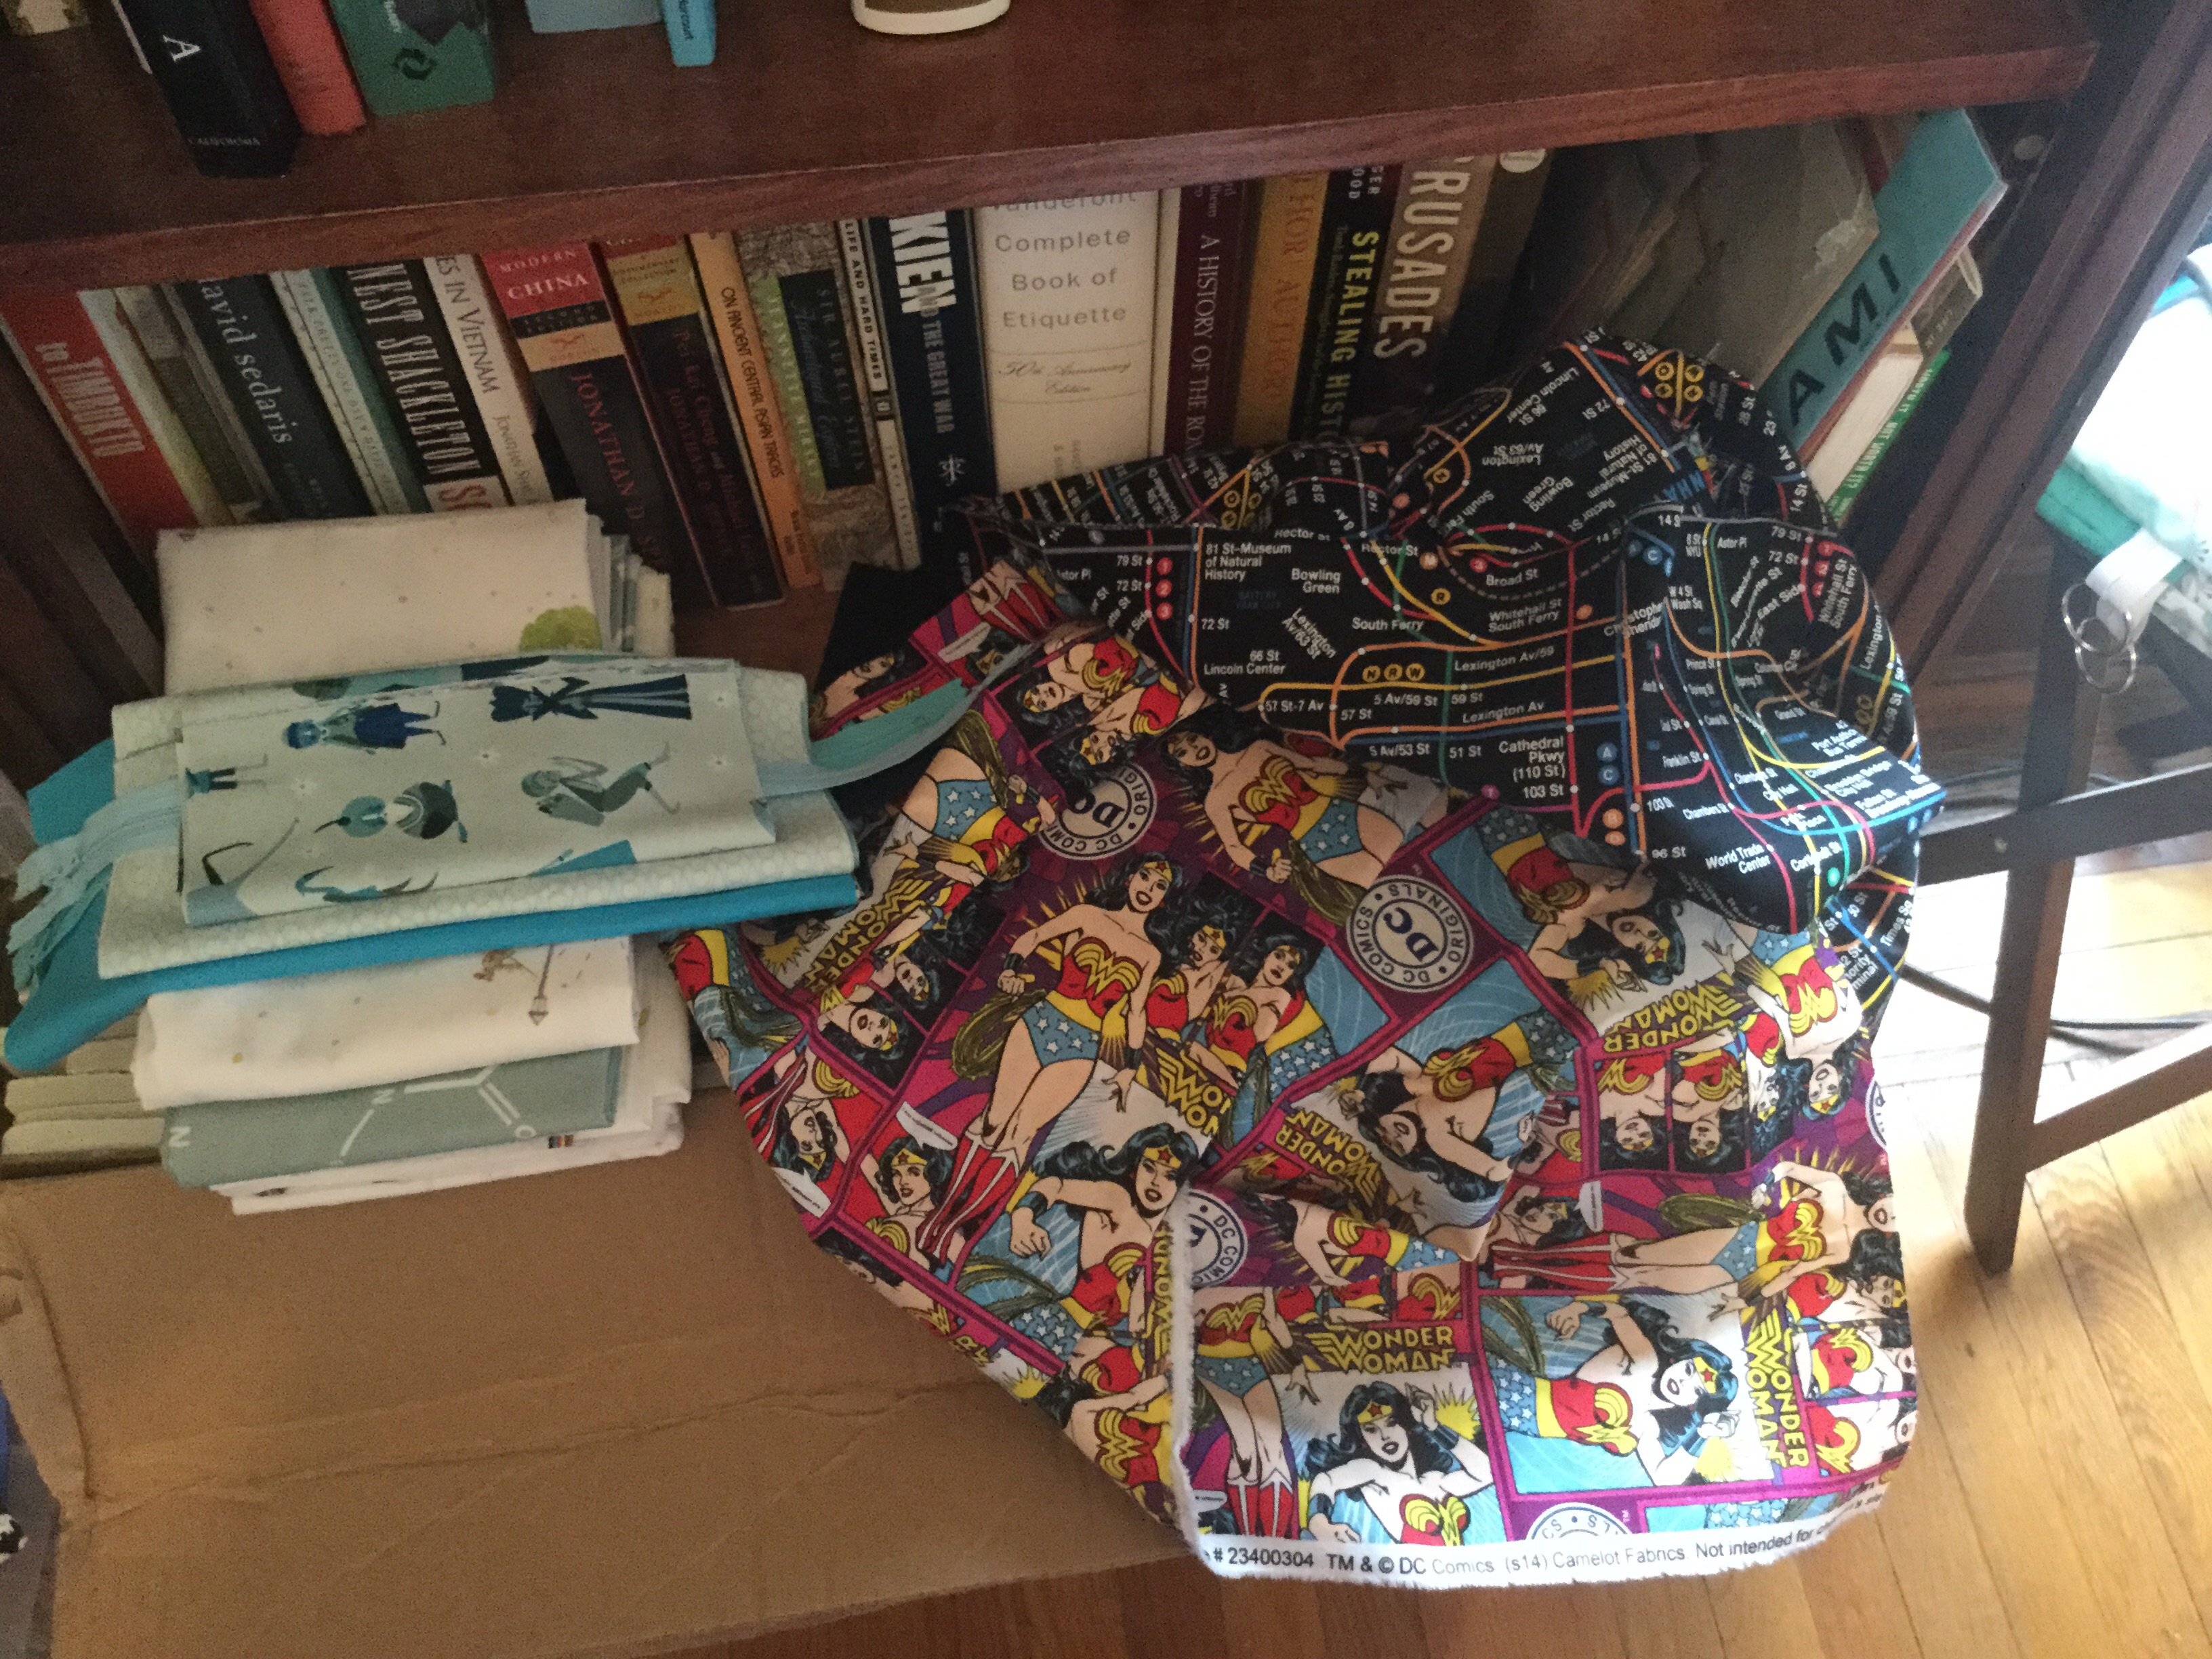
Here are some process photos:

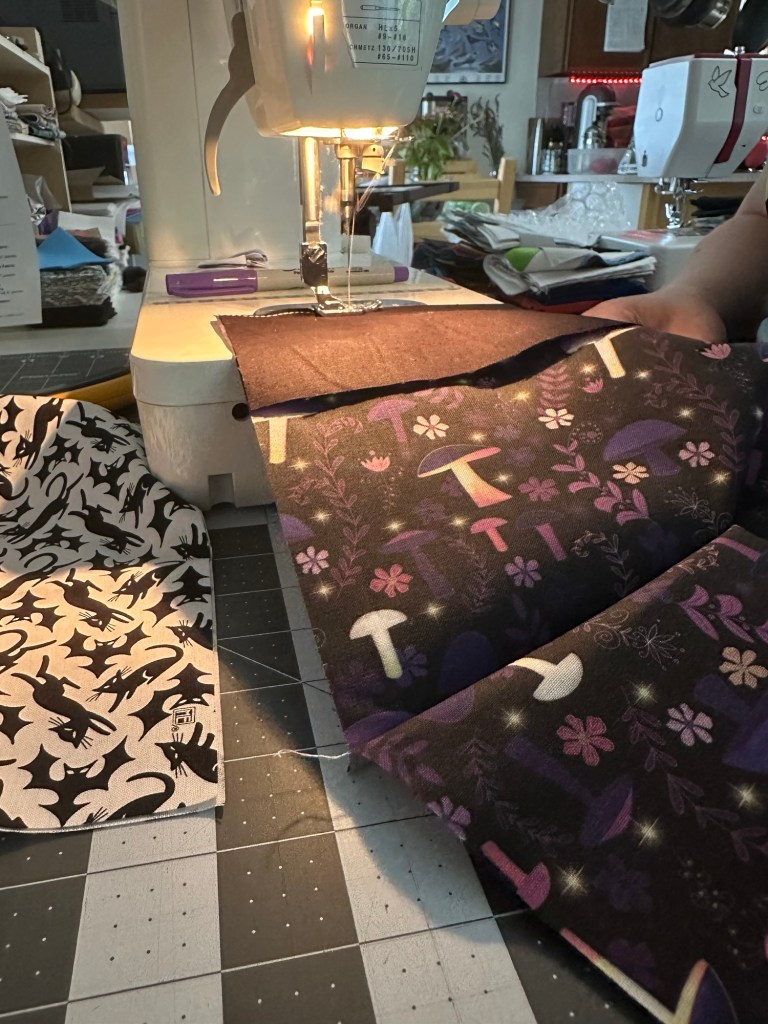
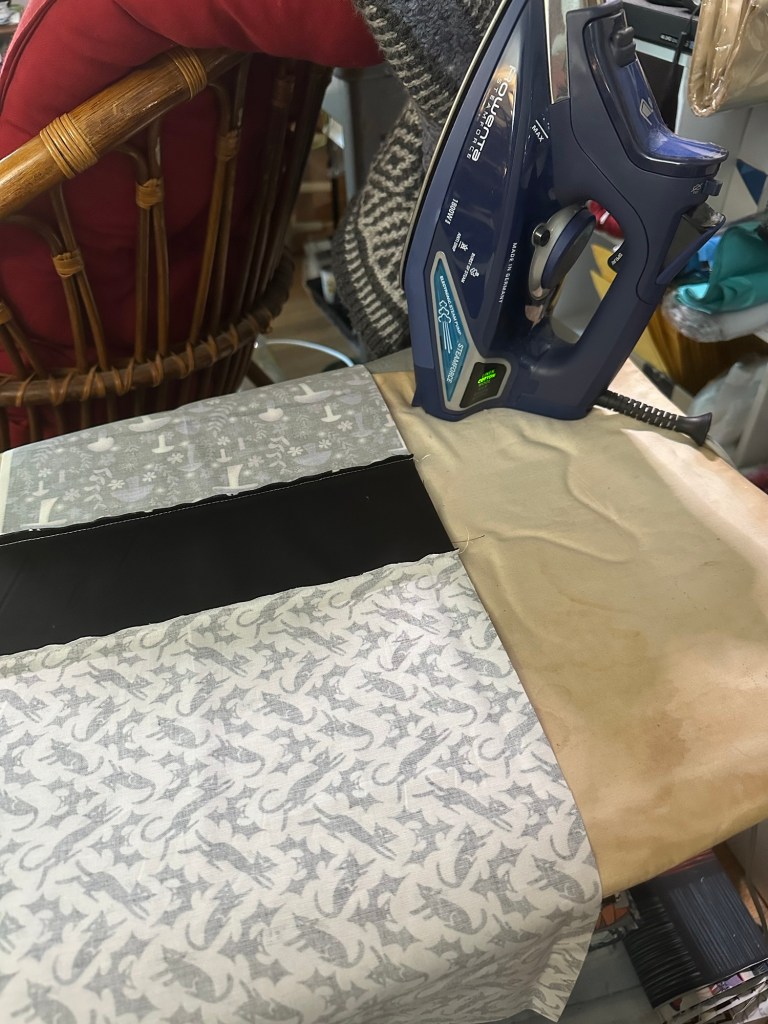
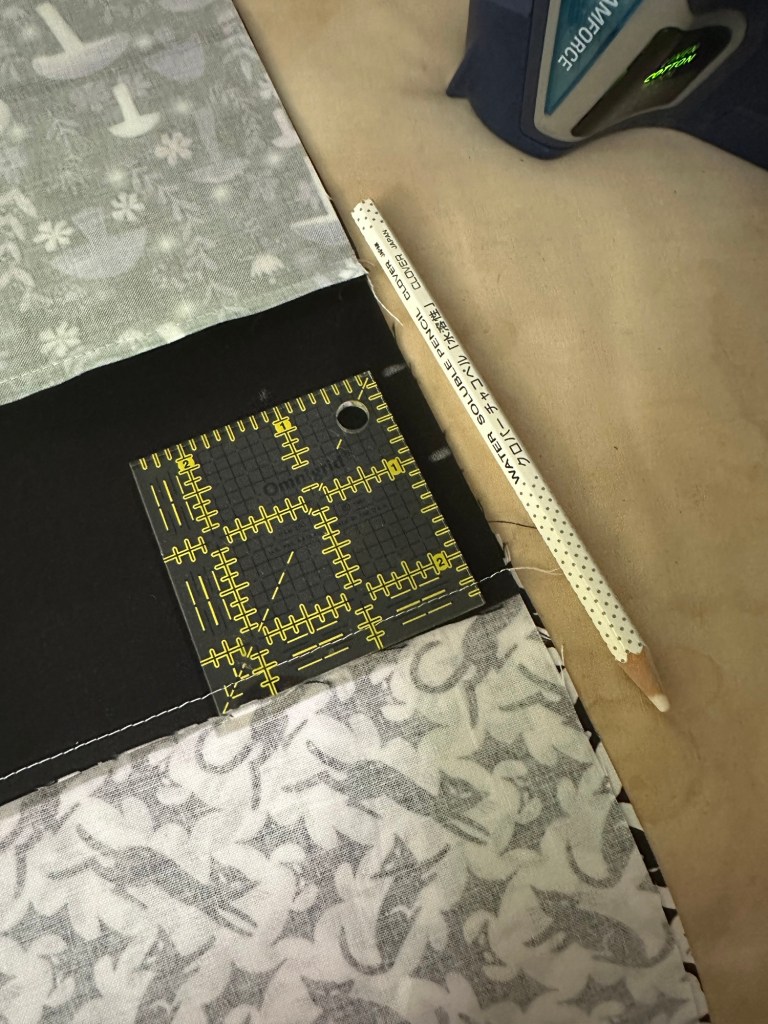
One part I particularly enjoy is top stitching the drawstring channel. It allows me to coordinate thread colors to bag top colors (in this case: black) but also rewards precision and accuracy, which I find soothing.

Video of the process of topstitching a drawstring bag, done slowly.

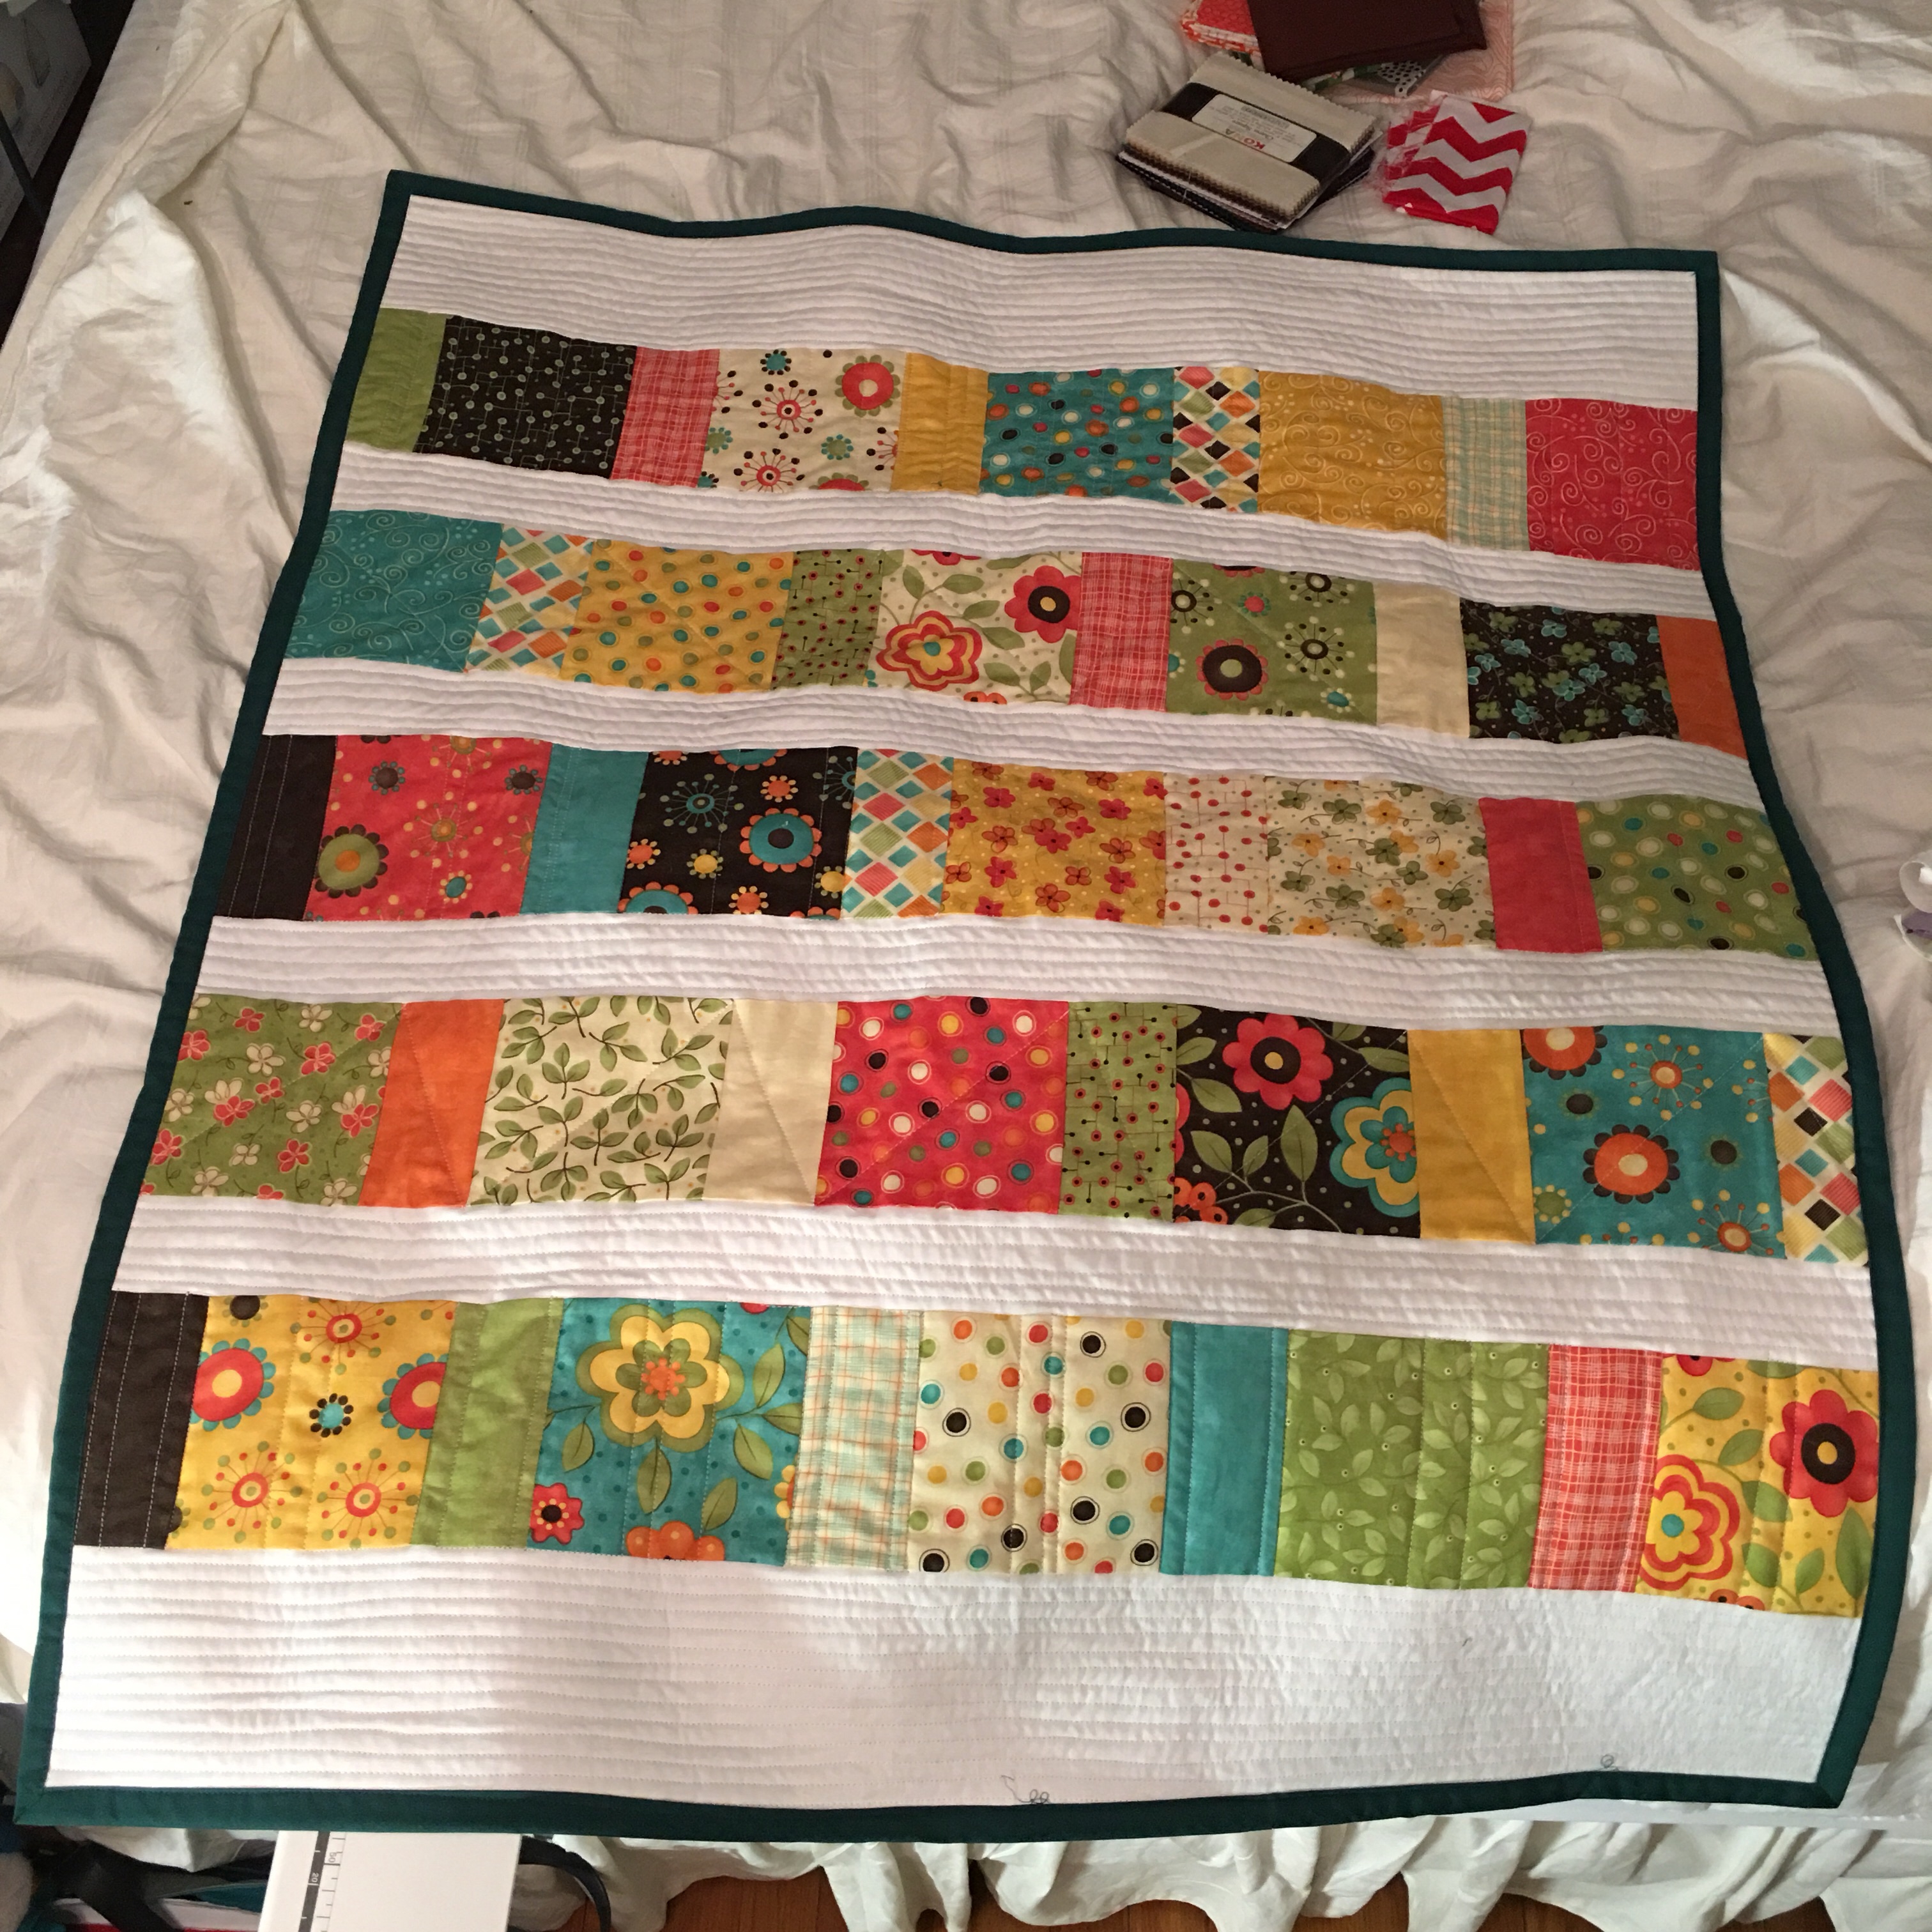
In the end, after adding drawstrings, I end up with a bag for the Halloween collaboration kit with the Periwinkle Sheep!

A purple mushroom print bag next to my brother sewing machine

As a reminder, these bags are available for a limited time only and come with a matching skein of custom yarn that looks like this:

Periwinkle Sheep yarn for the Halloween collaboration kit

You can get the kit on The Periwinkle Sheep’s website until August 20th. Kits will ship on or before October 10.

And remember: we will be donating 10% of kit sales to World Central Kitchen for their efforts to combat starvation and famine in Gaza.

Back to Quilting

It’s been a little while since I’ve quilted — I’ve been under the weather for about a year now (long story, but I’m on the mend) and I’ve been focused on bags, because small projects were all I’ve had the attention span for.

But this past week, the quilting bug bit me again, and I decided to rearrange my sewing space, and try a baby quilt.

Pardon the untidiness: this photo was taken mid-batch of bags for the Moms and Makers Market (see previous post or my Instagram!)

I grabbed a pack of charm squares, a tutorial from Elizabeth Hartmann, and off I went!

I used an old thrifted sheet for the backing and cut a queen batting in quarters, so I suppose there are three more baby quilts in my future!

The quilting was all done by eye with a walking foot — I just let myself stitch where it looked appropriate, and see what happened! I’m quite pleased.

The backing isn’t quite as pretty — there are a couple of places where the top thread (white) pops through because my tension wasn’t quite right — but overall, I’m delighted with it.

Now to find it a new home! I’m thinking about putting it up on Etsy to help me fundraise for the Hispanic Federation, because god knows Puerto Rico still needs help!

Work in Progress Wednesday

Linking up with WIP Wednesday today.

Or, “my sewing space is a complete mess, but I find it hilarious and even slightly restful.”

My room has been transformed from a bedroom into a piecing factory. My bed provides nearly all the space I need to lay out cut fabrics in sets as I prepare for piece-work:

image

image

I’ve also spilled over onto the box that holds my blocking mats, which is right behind my sewing machine and a handy place to shove loose yardage:
image

Then there’s the actual sewing. My trusty Brother straight-stitch machine is set up on the sewing table, as seen here:
image

But it doesn’t like zippers much, so I’ve pulled out my old Euro-Pro machine, put the zipper foot on it, and set it up at a 90 degree angle on a folding table:
image

Why so much piece-work? Well, I’m churning out bags for my Etsy shop! After all, fundraising through sales only works if there are things to sell.

All sales from my Etsy shop in September and October go toward a donation to the Johns Hopkins University Center for Talented Youth Scholars program, which sends bright kids to college classes, or to a summer 3-week academic program, as well as matching them up with mentors. It’s an excellent cause, focused on families who need the financial assistance, and I’m delighted to be able to help even a little bit.

Use code “KSQREADER” for a discount on anything you see in my Etsy shop — and feel free to message me, email me, or PM me on Ravelry (AlisaB) if there’s something I can make up custom for you!

My (new) sewing space

I just re-organized quite a bit so that all my crafting materials are in one room, and my desk and schoolwork are in another: having the sewing machine next to my computer was too good for procrastination.

I pulled a table and an old TV cart out of the basement, and now one wall of my bedroom looks like this:
Whole_setup_plus_stepstool

(I haven’t found a chair yet. The step-stool works okay for now.)

If you turn to your left while sitting at the table, you see this:
Stash&bookcase

All of my fabric, fiber and yarn in one place. There was some serious tetris-like packing going on while I organized this, and I have a sinking feeling that it’s going to be like packing a suitcase for a trip: on day one, everything fits, but by day three, you can’t shove it all back in no matter how hard you try. So far, though, it’s been great incentive to use what I have and work from stash, because I simply don’t have enough space for more fabric to join me.

The bookshelf below actually holds a lot of books that ought to be in my study, but they fit here, so I have to get up and go get them, if I suddenly need something on Troilus and Criseyde, or on how to date manuscripts, or late medieval literacy rates. The top right shelf is history/biography that’s not related to school: I call it the “shelf of depressing” because it’s all things like Bury My Heart At Wounded Knee, and a biography of Ernest Shackleton, and 1491, and so on. Interesting stuff, but a lot of lying, betrayal and death, none of which is fictional.

But back to crafting. Here’s a closer view of just the supplies, not the books:
Stash&bookcase_close

The basic layout is: top row fiber, second row mostly fabric (but some fiber on the right), bottom row mostly knitting stuff (but fabric & books on the left).

There’s very little on those racks that isn’t yarn, fiber or fabric, so I’m using an old TV cart to hold tools & supplies. When I’m not using it, it fits snugly under the table like so:
Cart_under_table

The cart’s organization is still something of a work-in-progress itself, but it’s working well so far. The top left is a box that holds my rotary cutters and scissors and sewing machine feet, as well as any small random things that I don’t want to have to get up to put away right away. The top left is my sewing kit, with chalk pencils, velcro, binding tape, needles, pins, a pincushion, etc. Behind them is a work-in-progress: my second Mabel bag, which is waiting on the arrival of more fusible interfacing.

On the bottom left, there’s a box that holds my bags of scrap fabric. On the right, there’s a little Lane cedar box. When it opens up, you see:
Lane_thread_box

Some of these are spools I’ve had for years (from well before I knew how to pick thread) and I’m planning on gradually replacing my thread with better quality as it runs out, but for now, I’m using what I have.

The top of the tv cart is where I lay out works-in-progress. The tabletop I’m using as my bench is only about 18″x36″, so the extra space is handy.

Speaking of the tabletop, here’s what it looks like close up. The left side has pieces for my Kitchen Window quilt:
Left_side_table

The center is where the rotary cutting mat lives! It has pieces of the Hot Pink Quilts baby quilt I’m making for our downstairs neighbors, who just had a baby boy:
Middle_table

The right is where the sewing machine lives. I move it to the back when I’m cutting, or line it up along the edge of the table. It’s not perfect, but it works!
Right_side_table

Overall, I’m pretty happy with it: it makes a distinct space where I can sew and quilt, which doesn’t overlap with my desk at all.
Whole_setup

I do have to be careful, though — if I leave the tv cart out, I can’t get into my closet! Gotta love living in NYC.


PS: I’m still de-stashing fabric and a little bit of spinning fiber.