Well, this week has been a thorough fail in terms of posting on-schedule.
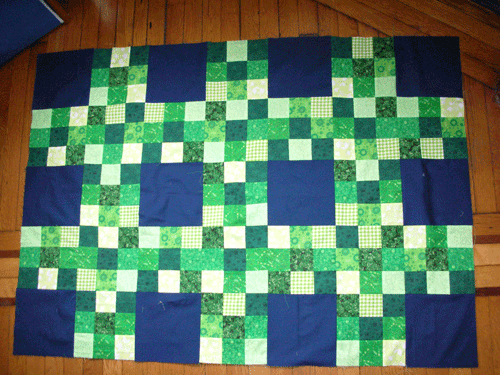
In any event, I’ve all but finished the Nine-Patch Lattice quilt, so here’s a look at how I quilted it. I followed the instructions in The Practical Guide to Patchwork, with the occasional look at Elizabeth Hartmann’s very helpful tutorials on her blog.
First I laid out my quilt batting and top, and rolled them together. (I forgot to take a picture of this step.)
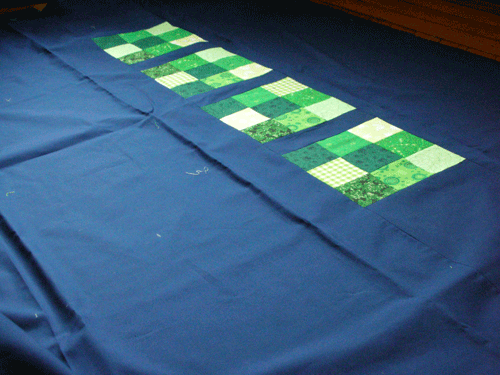
Then I laid out the back, and while the instructions I was looking at suggested stretching the back out and taping the edges so it doesn’t move, I thought – hey, I can totally do this, it’s tiny! – not my best idea.
I unrolled the quilt batting&top onto the back, and trimmed around the edges.

I’d decided to quilt along the lattice design: nice straight lines seemed like a good idea for a first try at really quilting something. I initially thought of quilting all the lines, including those within the nine-patch blocks, but I decided I didn’t want it to look quite that busy. And the batting I was using said it could be quilted up to 10″ apart, so I didn’t feel too bad about these blocks.
I attached a walking foot and a 14 needle (instead of an 11) and I started quilting along the lines of the lattice blocks. I started stitching on the batting, beyond the edge of the top’s fabric.

I rolled the quilt up as I went, and it’s a good thing it was fairly small, because it definitely took me a little while to figure out the most efficient ways to move it around.

One thing I didn’t think of for an embarrassingly long time is the idea of folding up not only the side that was going under the arm of the sewing machine, but the quilt on the left of the sewing machine as well. This made things a lot easier to manage.

Remember how I said I didn’t follow the instructions quite exactly? Well, it turns out that if you rely on just crawling around and smoothing, and you don’t really quite know exactly what you’re doing just yet, you end up with a couple of tucks in the fabric of the back of the quilt. I am surprisingly okay with this, because, really, for a first quilt (I really don’t count the two I made for my cousin’s kids, because they were so small and so completely without guidance or plan), it’s not that bad. But I still didn’t take pictures of the tucks on the back.
Once I’d finished quilting it, I trimmed the edges straight and cut and pressed my binding.
I pinned it to the wrong side, and sewed about 1/4″ from the edge, all the way around. One of the corners gave me some trouble (overstitching both sides of it? Not the best plan.)

Then I unpinned it, turned the binding around to the front of the quilt, and pinned it down. Then I sewed the binding down about 1/4″ from the edge of it. This left a second line around the edges of the quilt on the back, but I don’t mind the effect, and it was a lot faster (and I trust it a lot more) than hand-stitching the binding. I have very little confidence in my ability to sew things by hand.

You may notice, in this last picture, that I managed to put the pins in with their sharp ends facing me: OW. Not doing that again, if I can help it. I stabbed myself on their tips more times than I really want to remember.
When I get some decent light, I’ll photograph the finished quilt. And now that the Lattice quilt is finished, I’m working on a quilt for a friend’s son. It’s all greens and purples, and I’ve already finished all the blocks for it.


